UPDATE JUNE 2016

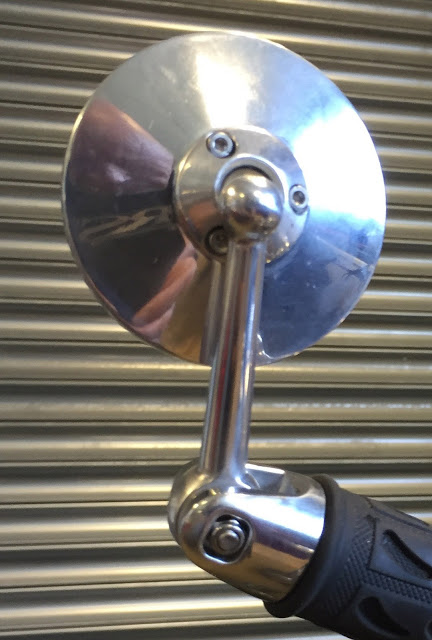
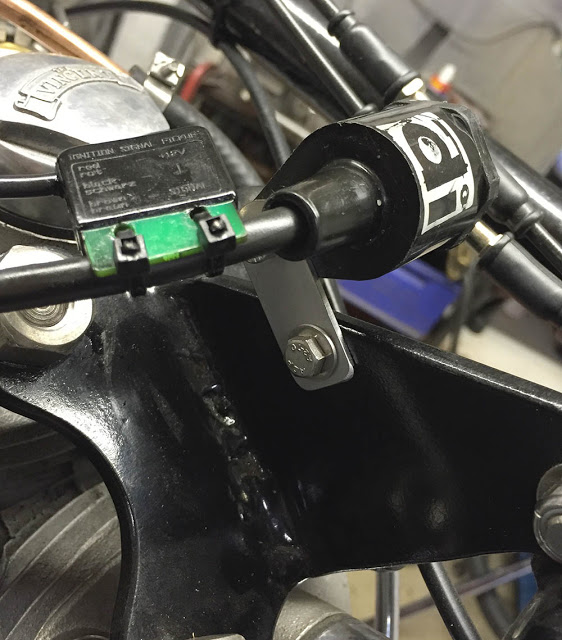
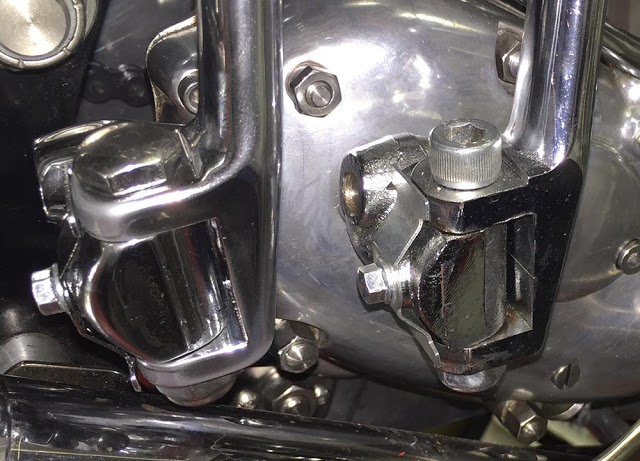
Polished up and mounted, it looks neat and purposeful. You can see the removable pin that locks the spindle in the fully-advanced position while you set up the engine to 32 degrees before TDC.

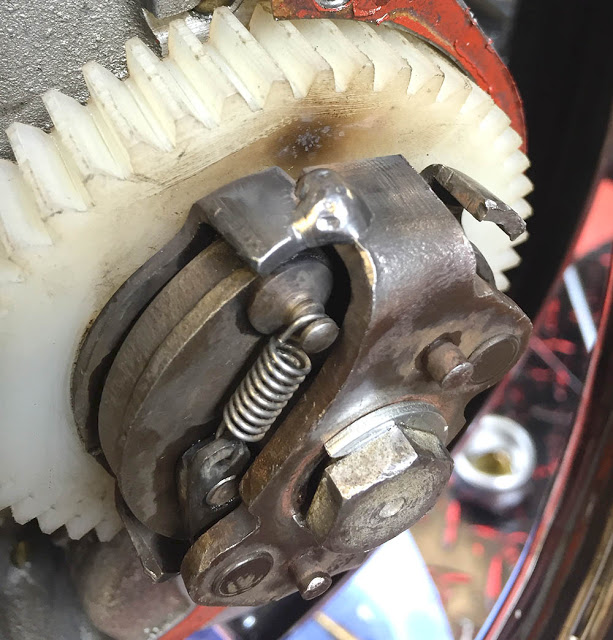
The BTH unit has internally programmed, automatic advance and retard so the original, mechanical bob-weight advance mechanism is now redundant. I'll eventually remove it and replace the drive cog but for now I've just spot-welded the arms to lock it in the fully retarded position.
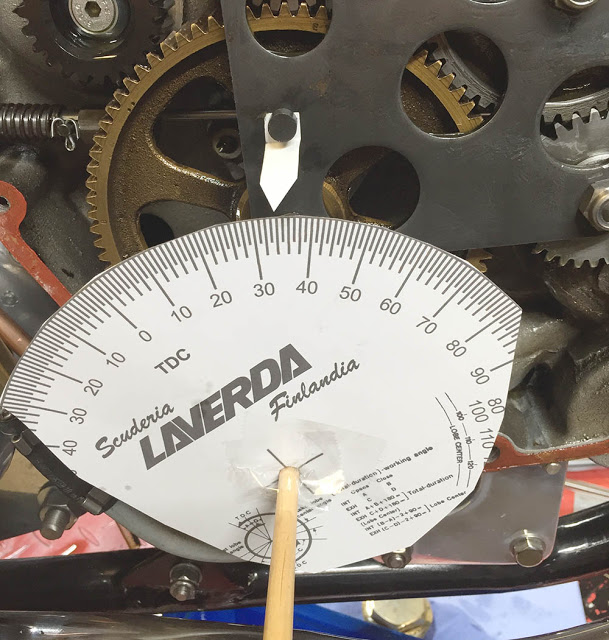
A downloaded an image of a timing wheel from Google was printed onto thick paper and a tapered paint brush handle pushed through it into the hole in the end of the crank. A couple of bits of sellotape fix the disc well enough to the wood. A little paper arrow held in place with a magnet indicated the piston position at 32 degrees before top dead centre - full advance.
I fixed the teeny-weeny coil to the head-steady mount and refitted the tacho pick-up to the HT lead. Not sure if the tacho will work on the very high tension of this unit but if not I'll re-program the tacho to receive a coil signal.
RESULT - An absolute transformation. No kick-backs (so far), easier starting, rock-steady tickover, smoother power through the rev range and I'm sure it'll be far more reliable.
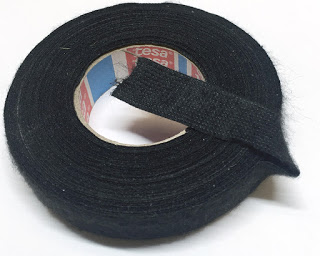
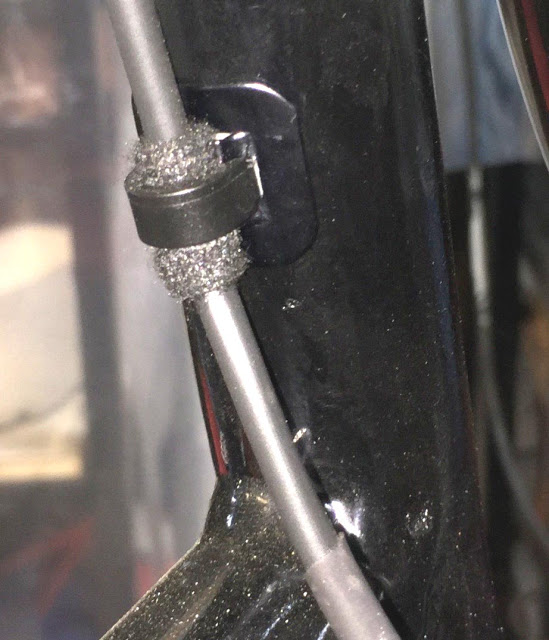
It is sometimes inevitable that you have to run wires or cables along frame or chassis tubes, often secured with a cable tie or tape around the tube - not nice. The wires from the BTH magneto up to the coil had to follow the front frame tubes. I found these discreet little self-adhesive clips for round tubes that are only about 12mm square and can hardly be seen. I wrapped the cable with a few turns of CBS cloth insulation tape to build-up the diameter for a secure fixing.
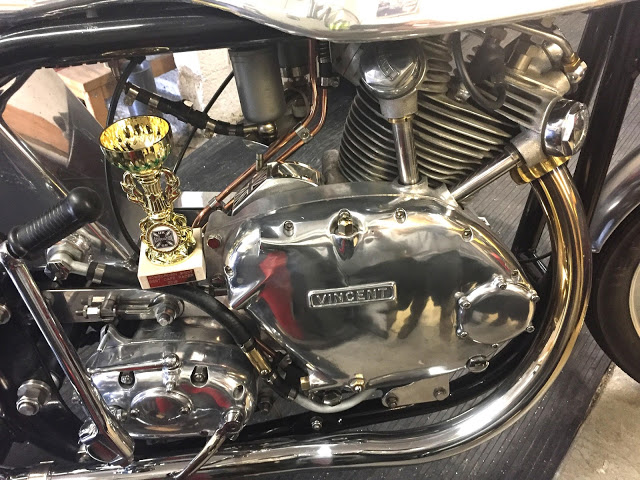
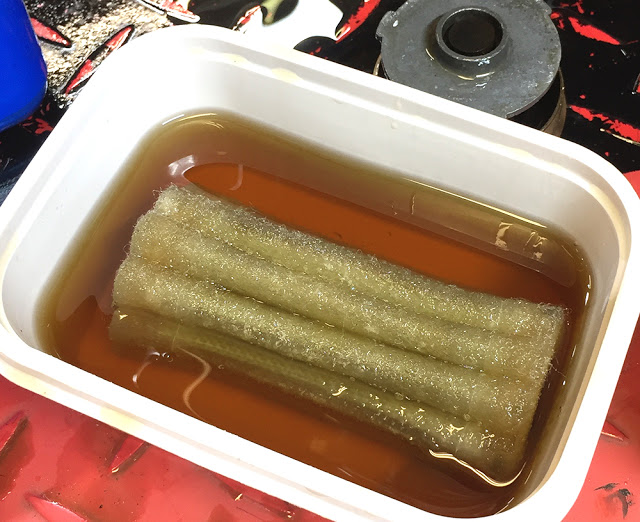
Original Vincent oil filters are made from wool with a wire mesh core. This was obviously before the days of modern cartridge filters but Vincent experts reckon they're at least as good.
Incidentally, I have discovered that there are two versions of this filter - different lengths - one at 3 5/8" and one at 4". The short one is for Comets and the longer one for V Twins. I found no mention of this fact in any Vincent literature or other information. I was sold a 4" one as a Comet filter and was very confused for a while until I read the two dimension options on a supplier's website where both are sold as Comet filters.
Anyway, here's the filter fitted by the folks who rebuilt my engine. A cartridge filter with a thin rubber sealing washer on each end. In theory, a worthwhile upgrade.
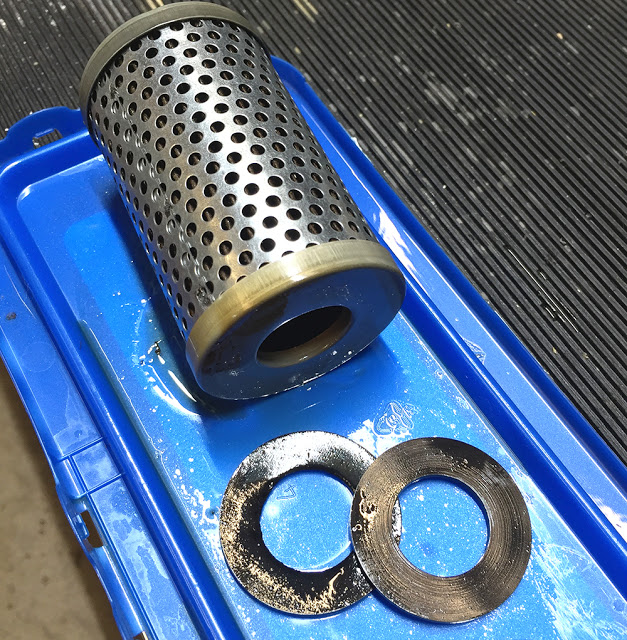
... and here's the sealing face of one end of that filter - an unfinished, rough cast surface at the bottom of the filter housing. Oil enters the housing through the (highlighted) hole at the top, should travel through the filter and out to the engine through the central hole at the end. But to expect a thin rubber washer to seal adequately on such a rough surface and prevent any oil from bypassing the filter is, at best, optimistic. The wool filter, however, is compressed about 6mm along it's length upon assembly, and would, in my opinion, offer a far better seal on this rough casting.

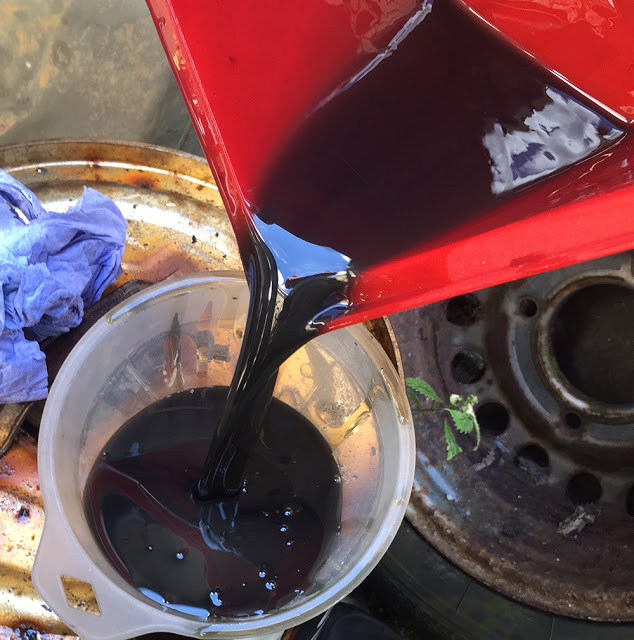
Here's the oil after 300 miles - black and very metallic looking.
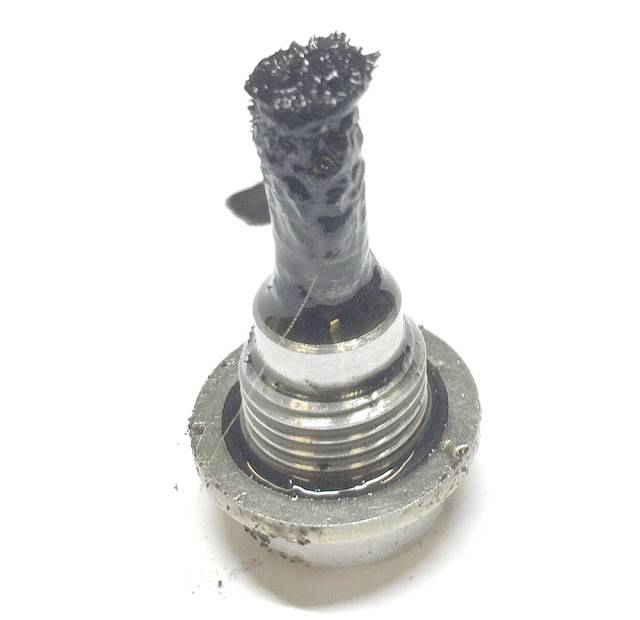
... and the magnetic sump drain plug with a significant coating of steel particles. But maybe this is to be expected from a new piston and liner?
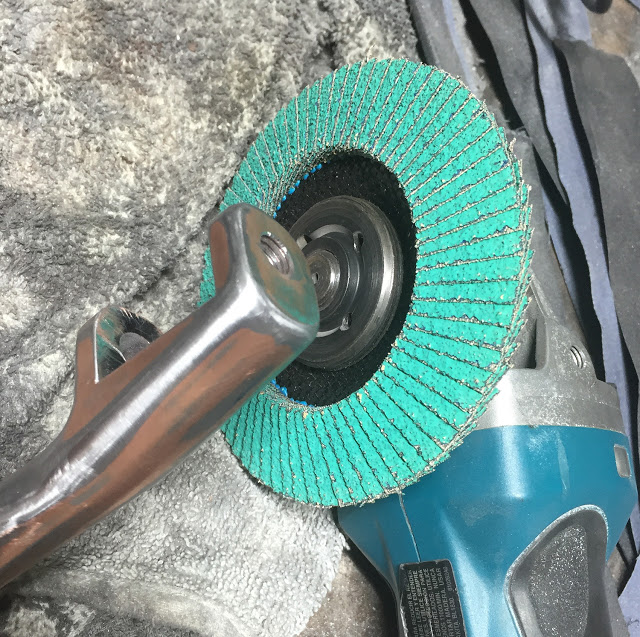
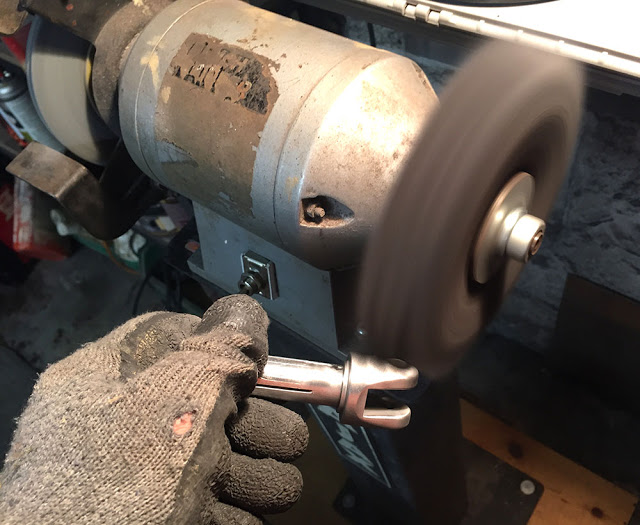
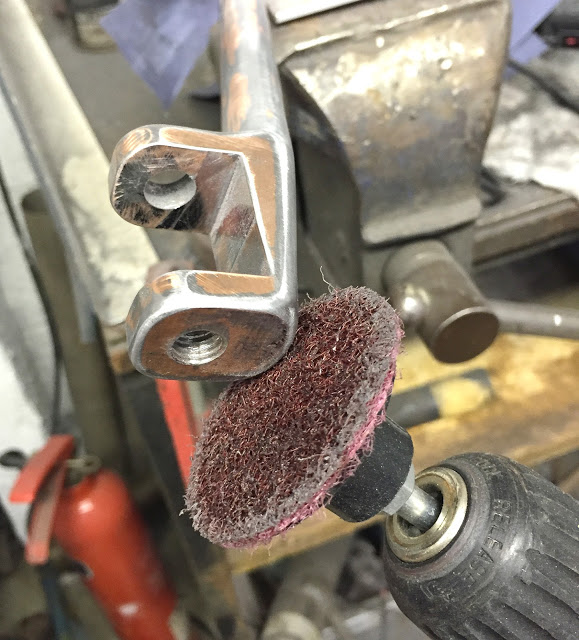
Then onto a 50mm Scotchbrite disc on an Air Die Grinder.
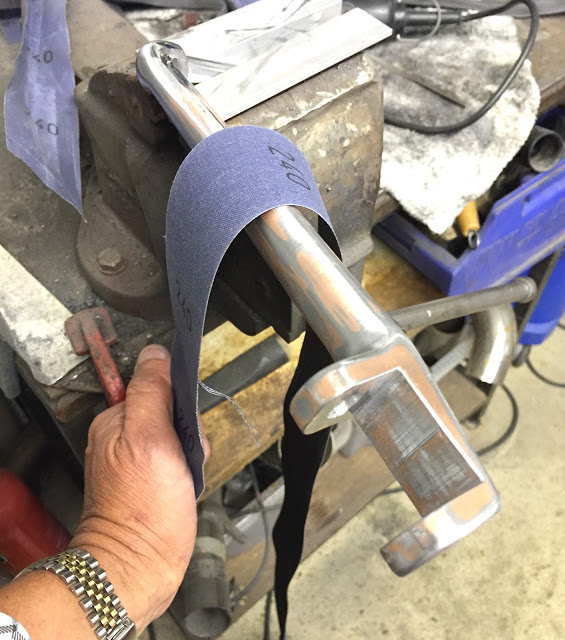
I used some 240 grit, 50mm wide Emery Cloth to round-off the shaft and external radii. You can see the original copper plating becoming exposed as the high spots are levelled down.
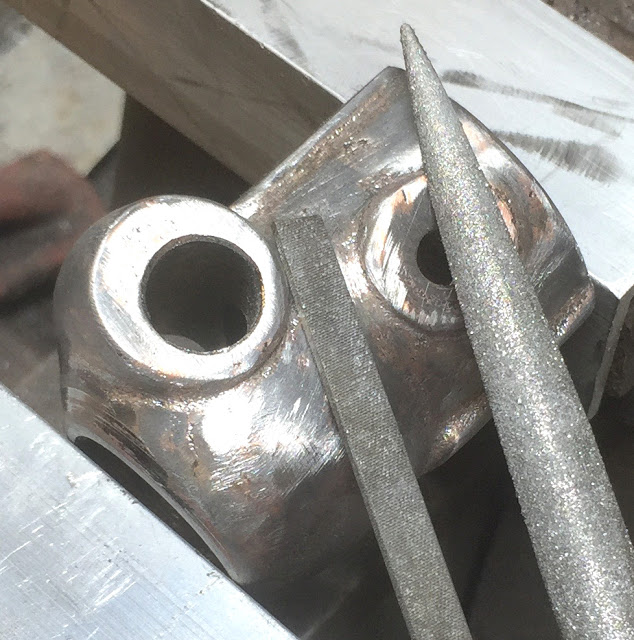
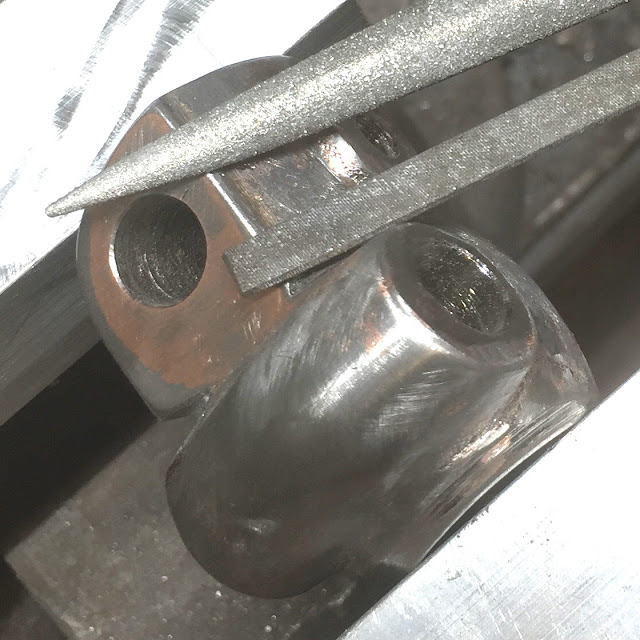
A regular needle file on the left and a tungsten, half-round file are both useful for removing the cast surface finish.
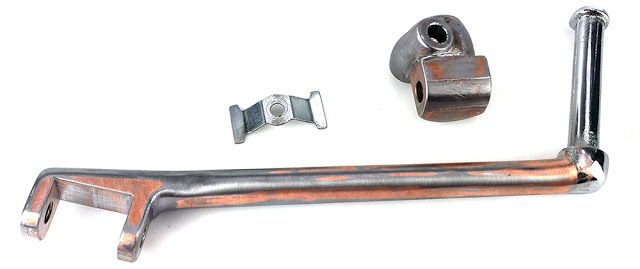
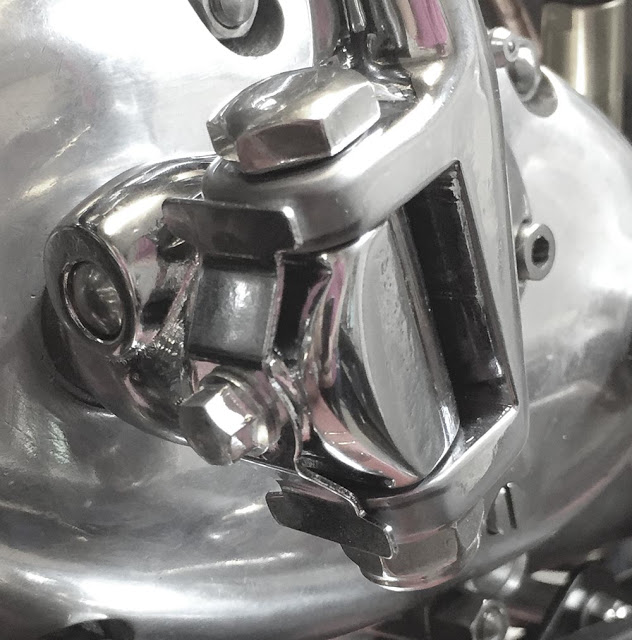
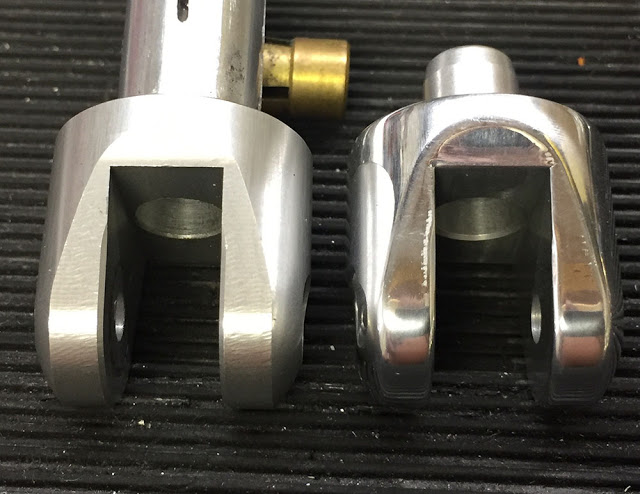
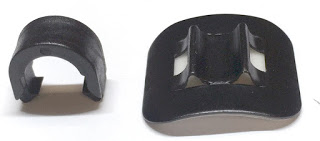
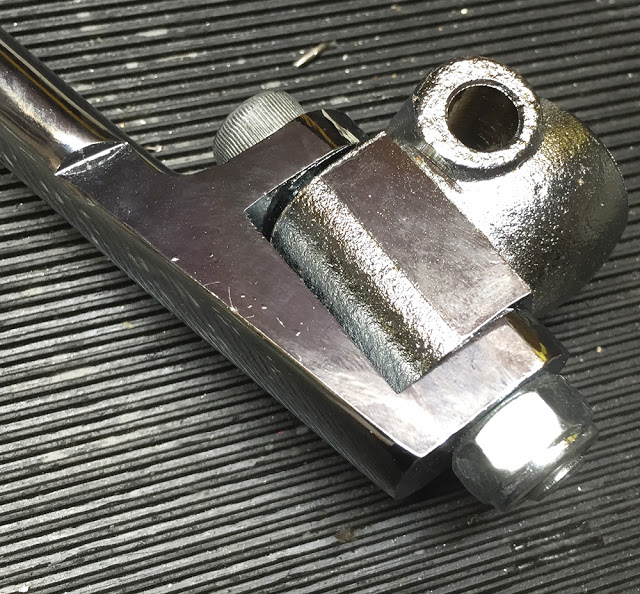
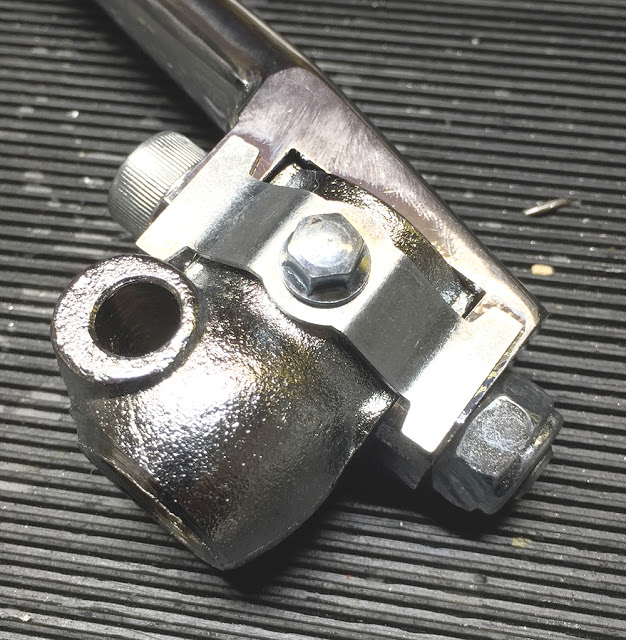
Here's the modified one on the left with a domed M10 hex bolt, alongside the original on the right.
The kickstart is a Triumph part and the gearbox is BSA. Although the shaft diameters are the same, the BSA shaft has a deeper cut-out for the cotter retaining pin. I dug around in my workshop and found an offcut of gauge plate, probably left over from a Marconi tool room job forty five years ago.
I made a 1/16" thick shim to build-up the cut-out to the correct dimension for the Triumph kick start.