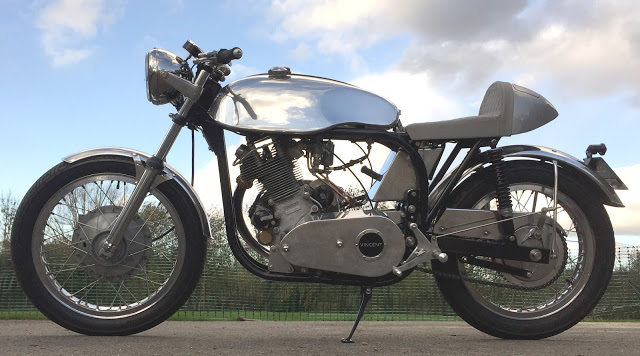
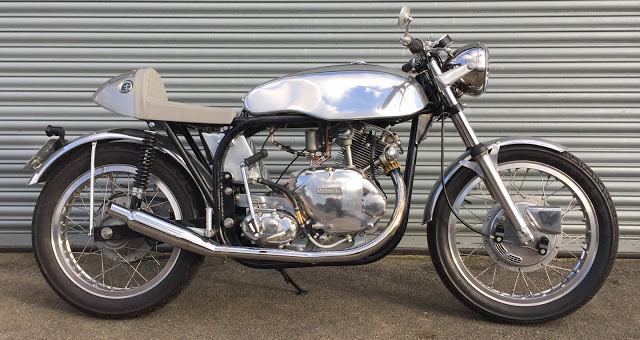
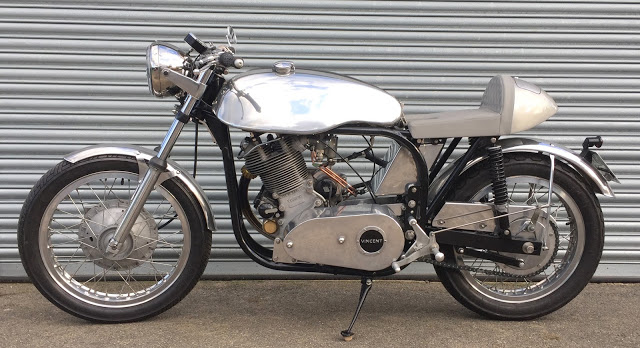
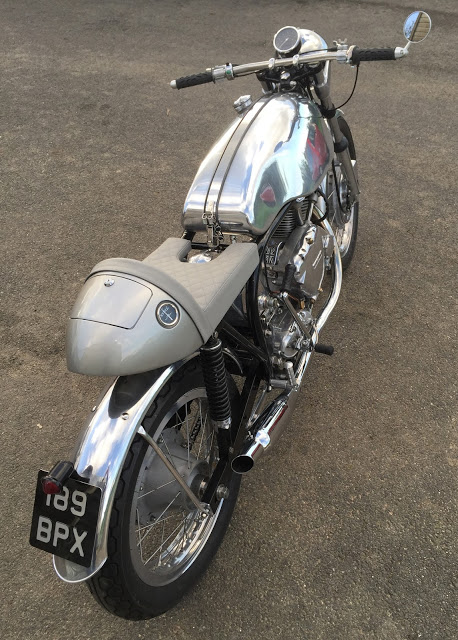
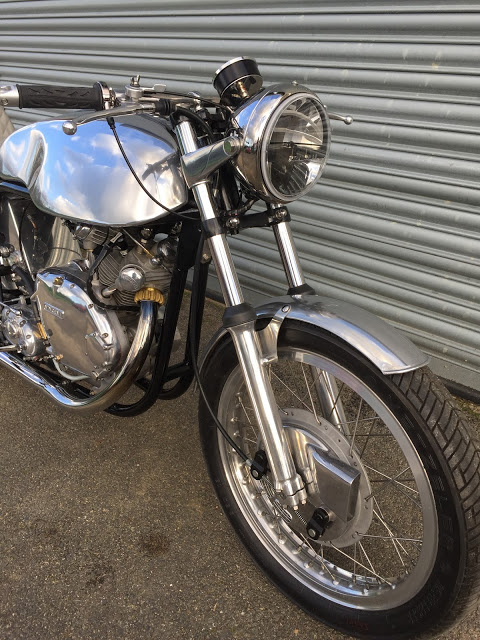
What I've been aiming for throughout this build is simplicity, functionality and elegance. This machine has been put together as a usable bike - not a show bike. I've tried to do everything properly without being too anal about fine detail and absolute perfection of finish. Been there, done that. I've sent off the log book with the cc and engine number change and I'm hoping to be ready for an MoT by the time I get it back from VOSA
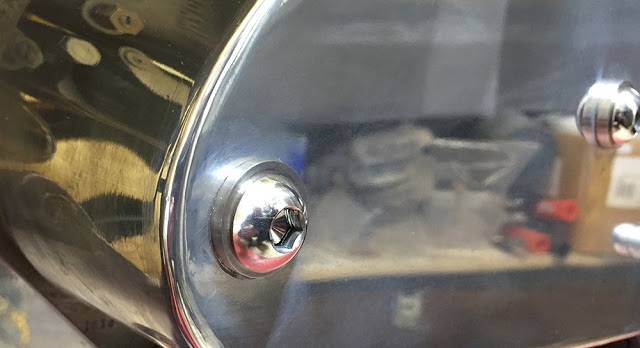
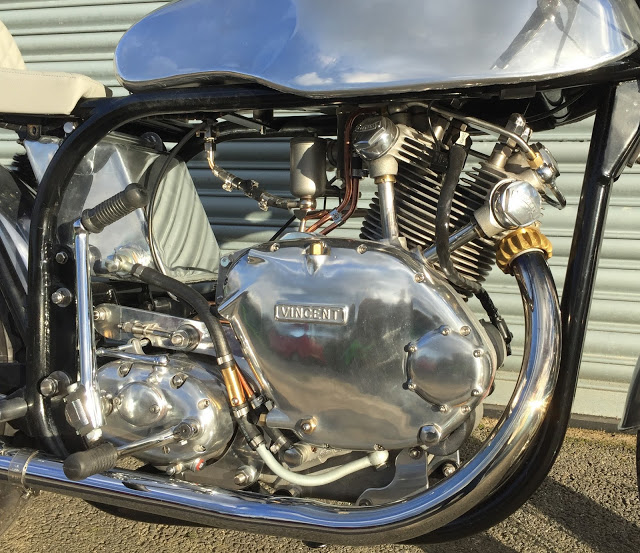
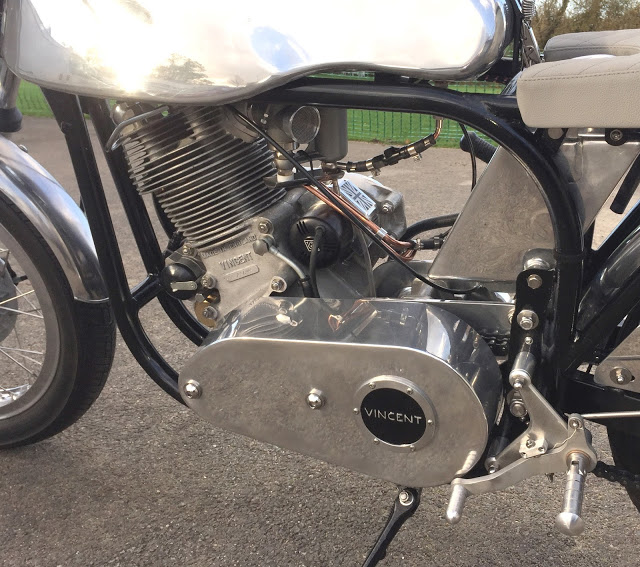
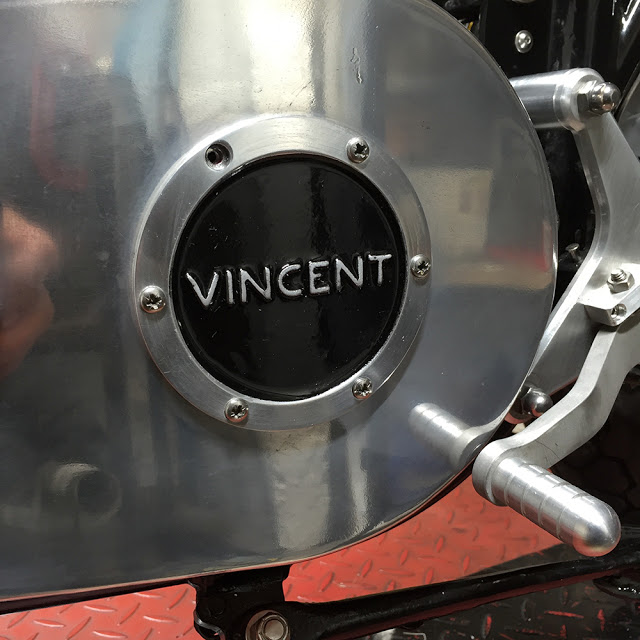
Here's the cast aluminium VINCENT badge on the primary chain case. I masked the outside flange and sand blasted the inner face before shimming it up on my bench absolutely flat and level. I then carefully poured POR15 BlackCote into the recess so it flowed around the lettering. As it started to cure I poured in more paint to achieve a sort of deep, enameled effect, pricking out any air bubbles one at a time with a pin. (That's not too anal is it?). Oops - Just noticed a screw missing.
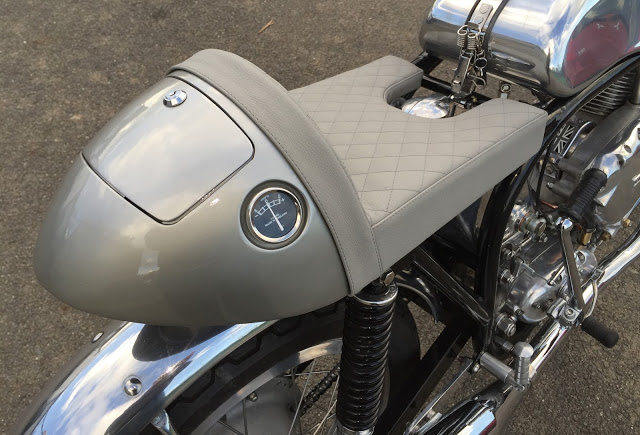
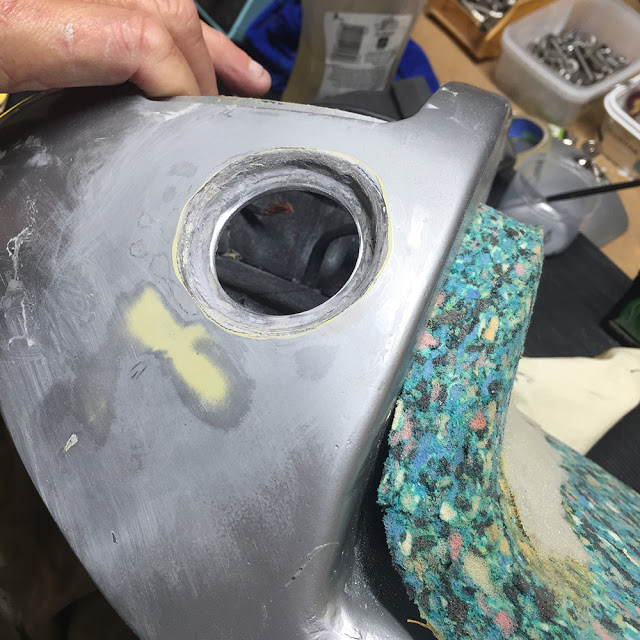
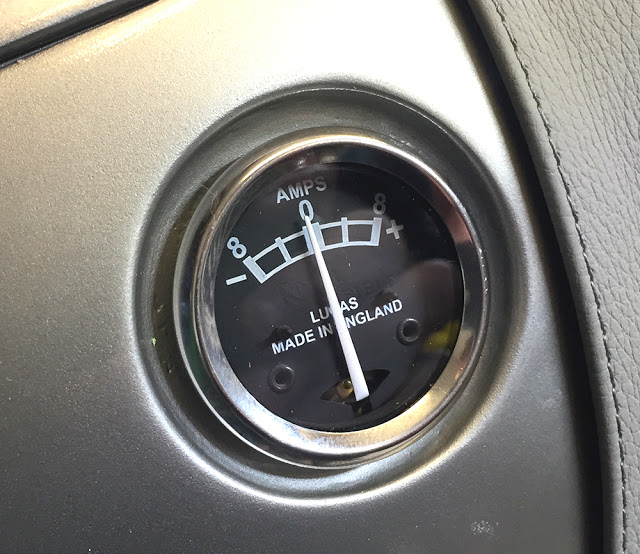
Here's how I mounted the new, smaller ammeter. I cut a disc of 3mm aluminium a little bigger than the original 52mm ammeter hole and made a 38mm hole in it for the new ammeter. I bonded it to the inside of the battery housing with 'Fibrefill' - a paste of fine glassfibre strands and resin, available from CBS. At this stage I've dressed it roughly but it'll be filled and smoothed to a seamless, radiused join between the flat aluminium plate to curved fibreglass seat.
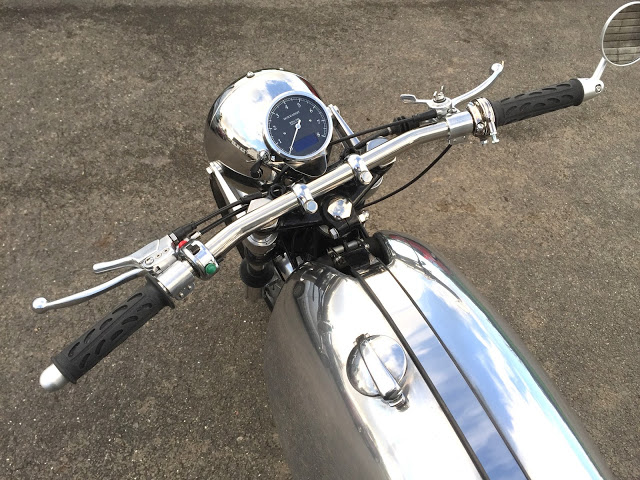
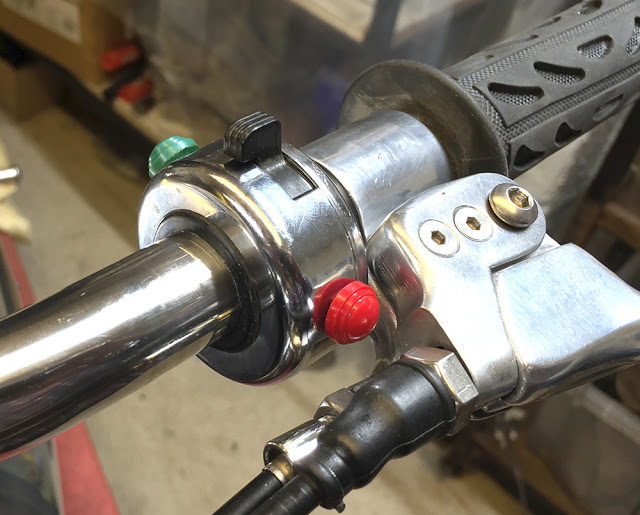
I looked around quite a while for an appropriate, good quality dip / horn switch but I just couldn't find one. I fancied an original, 1960's, Wipac 'Tricon' switch but the few I saw for sale on the internet were all well-used and tired or damaged, so I settled for the chrome one on the left. But recently, this 'New, Old Stock' one turned up on ebay for £80 'Buy It Now'. A bit of an indulgence, I know, but sod it.
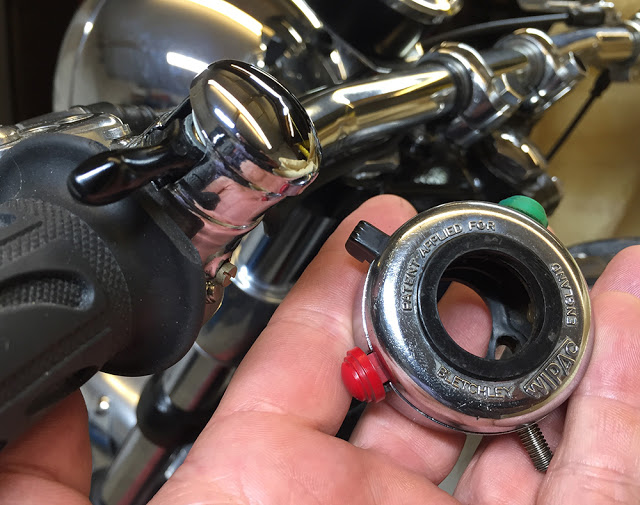
It's well made compared to widely-available, modern replicas at less than a quarter of the price, it has a good look and feel and it goes nicely on the bike. I've wired the green button to the horn and left the red one (usually engine kill), unconnected. I can stop the engine by putting my hand over the carb bellmouth.
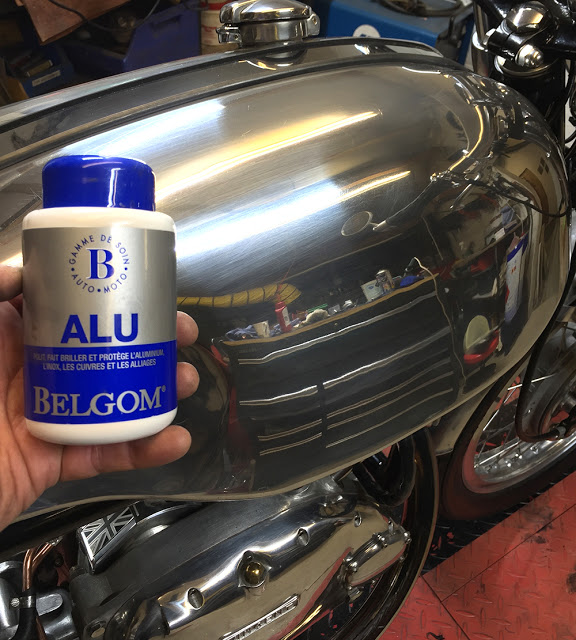
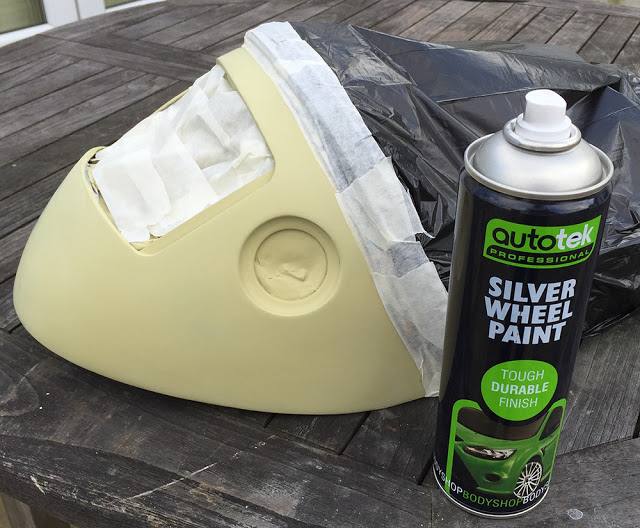
I wasn't really happy with the silver paint finish on the GRP seat, even before I modified the Ammeter mount and even as a temporary, aerosol job. Here it is, primed and ready to try this aerosol. Incidentally it's been trimmed but masked over with a bin bag.
I found the 1 3/4" replica Lucas Ammeter on ebay, shipped direct from India for about 8 quid. It seems very good quality and well made. The screws are, surprisingly, solid brass - not brass-plated steel as found on most cheap, imported instruments. It sits nicely under-flush in the mount.
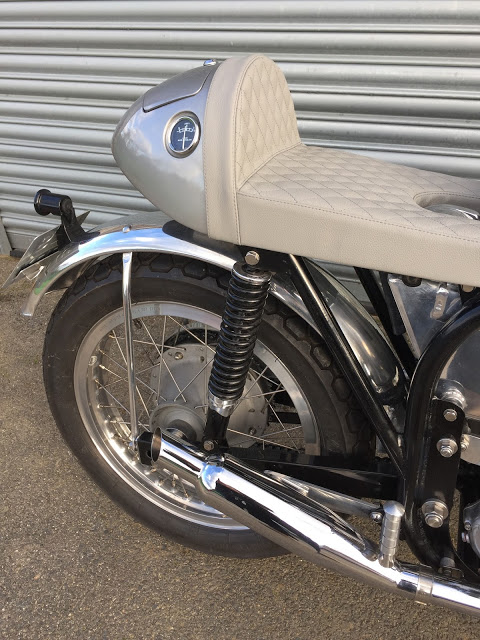
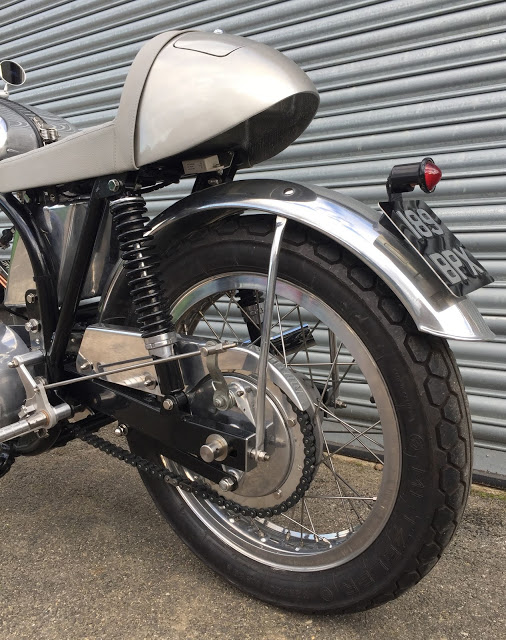
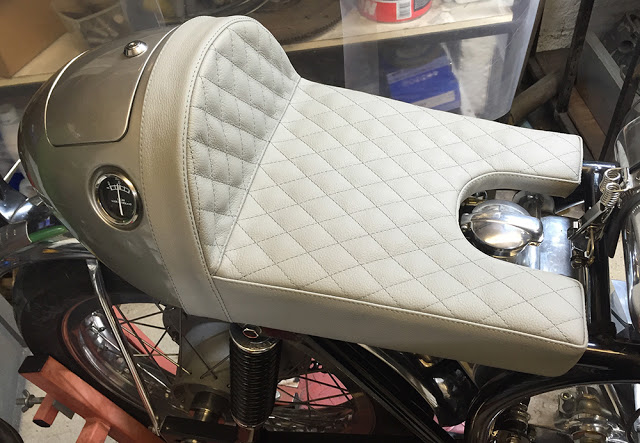
I've done a few 'Stitch and Stick' trimming jobs over the years like simple seat squabs and door cards but I thought I'd hand this seat trimming job over to a pro. Mark from M & K Auto Upholstery in Maidstone is an old mate and one of the best trimmers around so he got the job. I specified diamond-quilted, grey Connolly leather with grey stitching, no piping and a little extra padding for my old butt.
And here it is - a cracking job, I think you'll agree.
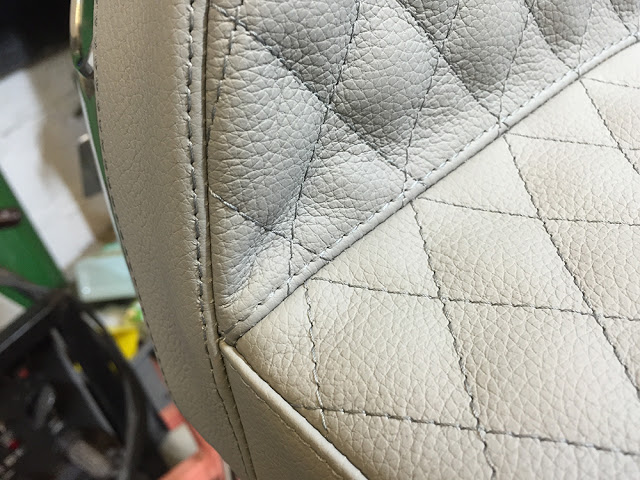
A close-up of the stitching. Superb.
It's down to final tidying and fixing small details now. Like replacing the M12 Hex head bolts on the primary chain case with these Button Head, Hex drive screws.