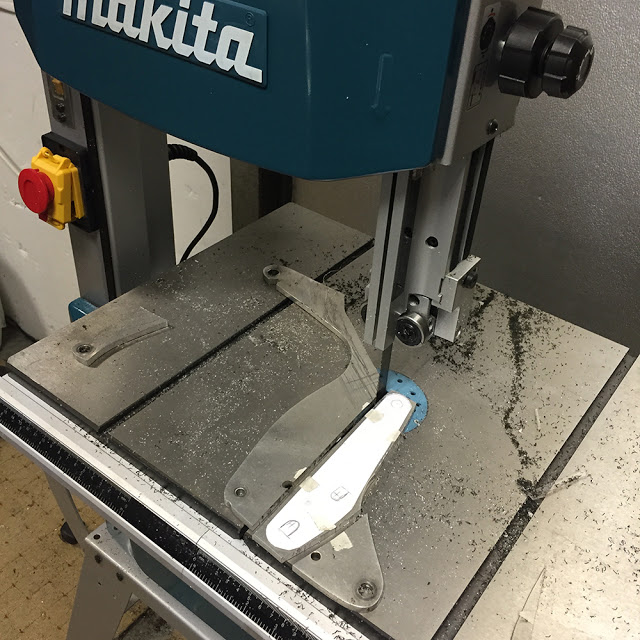
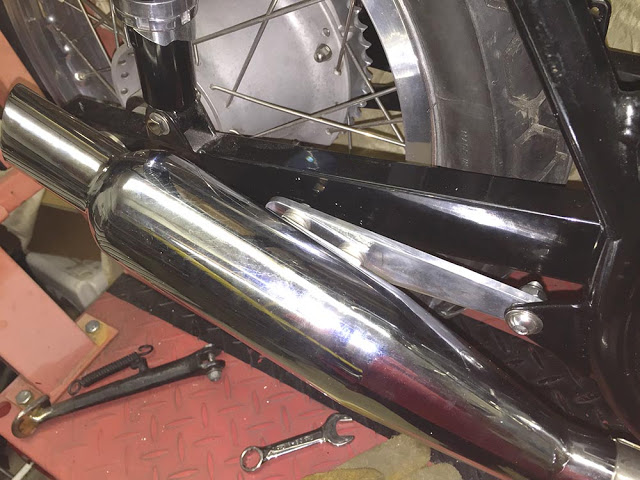
I'm making a mounting bracket for the muffler - can't really call it a silencer - I can see a lot of daylight looking through it!! I clamped it in place on the downpipe and made a card template using the old dirty-fingers routine to mark the hole positions. The final shape doesn't really matter provided there's enough meat around the holes to give it enough strength.
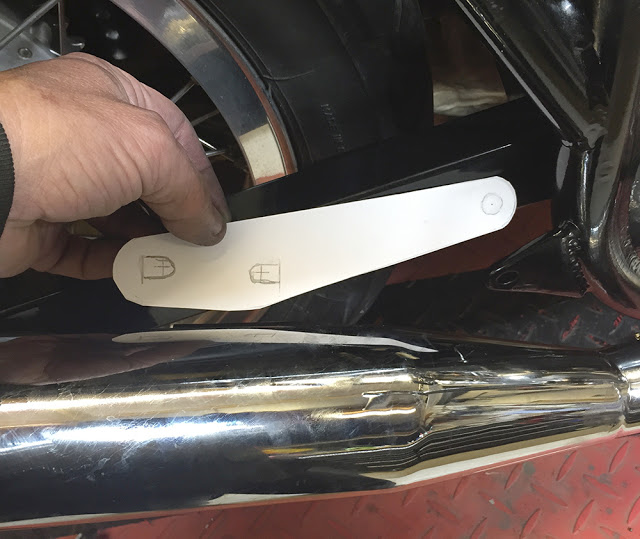
There are two bolts on the silencer which are held captive in a welded channel. This will keep the bracket securely positioned.
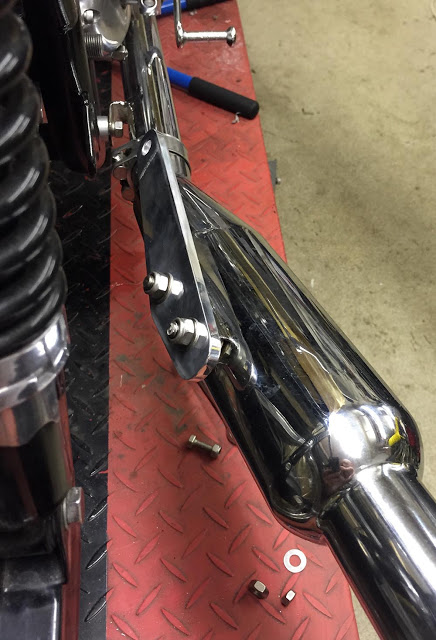
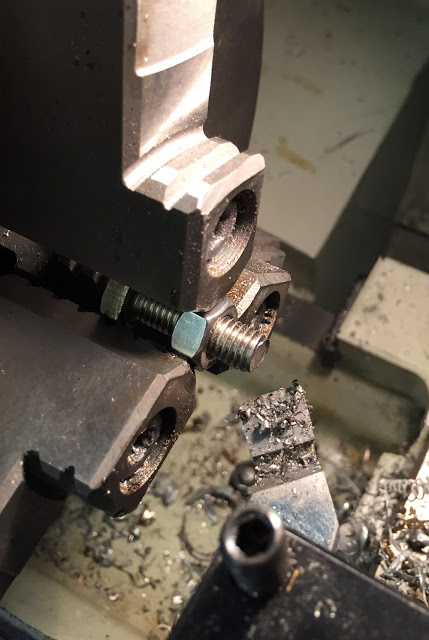
A few moons ago I could spot a stainless nut or bolt in a dozen plated steel ones form a hundred yards. These days I just confirm it with a little magnet on the side of my toolbox. Stainless is (mostly) non magnetic.
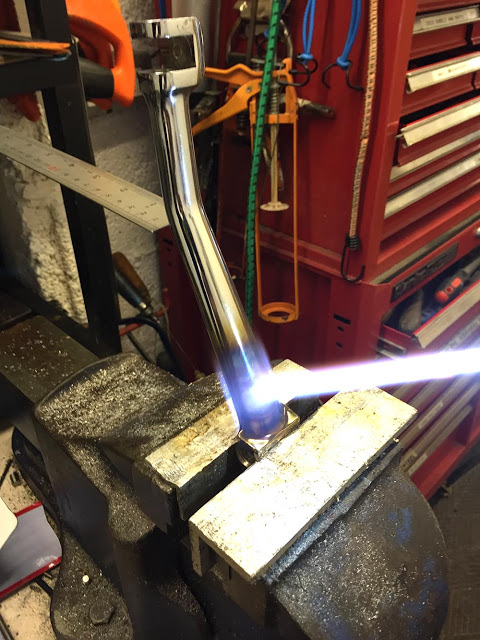
A consequence of having a reasonable-looking silencer, mounted nicely on the frame and using a BSA gearbox is that the kickstart will clout the silencer near the bottom of it's stroke. I guestimated that it needs about another 1/2' offset. Here's how I did it.
I clamped the kickstart in our strong bench vice and clamped a steel rule to the bench shelf, adjusting it's position to 1/2" away from the upper bend of the kickstart.
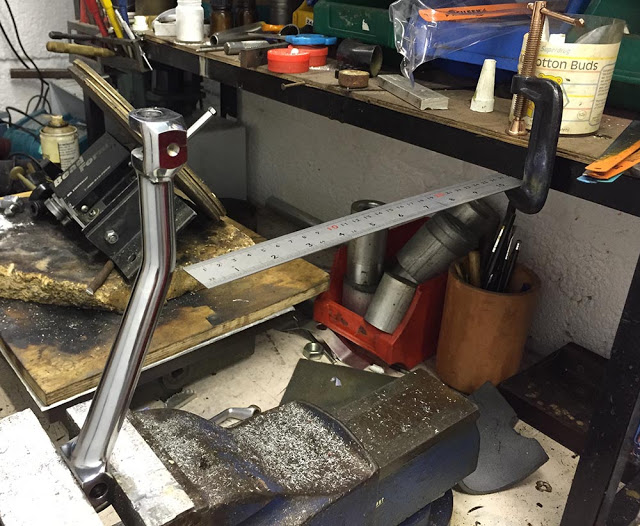
Our trusty Oxy/Acetylene torch makes a powerful and accurately positionable heat source - waaaaay better than a butane torch. I heated a short section of the lever just above the clamping boss to cherry red colour. The vice acts as a heat-sink so it needs a quite intense flame - but not so intense that it damages the chrome plating. When the heat has soaked evenly into the section of the lever it's quite easy to just bend it gently until it touches the steel rule.
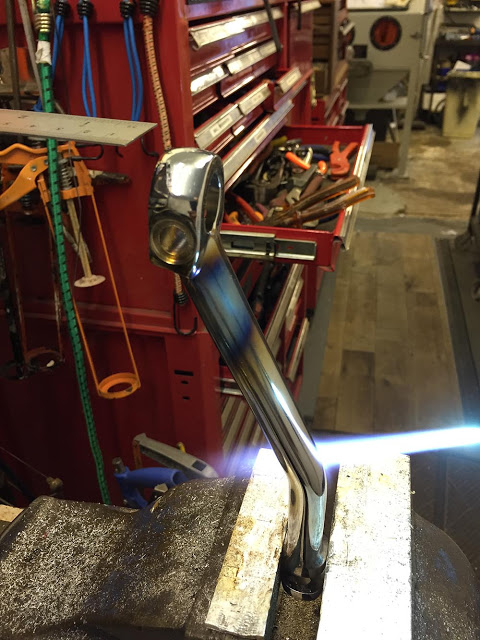
I then turned it upside-down in the vice and repeated the same angle bend, the same distance from the end of the rule, on the upper leg of the kickstart. With any luck, if the chrome is half decent, the blueing should polish out.
Next challenge. I quite fancied stainless mudguards on the bike. I found this front one on ebay but it's about 1/2" too wide to drop nicely between the fork legs.
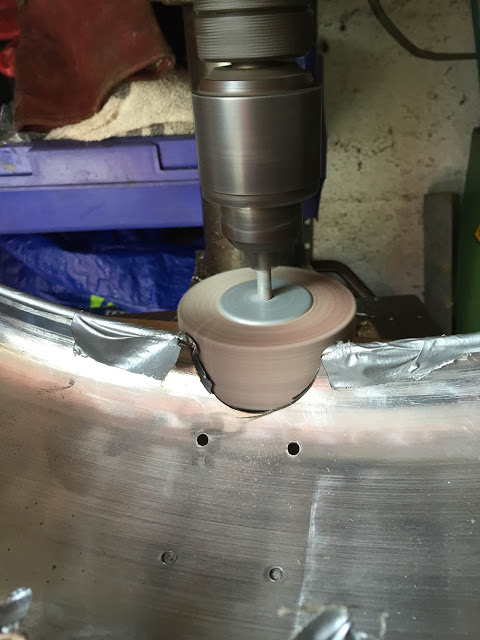
Here's the plan. Make a 'scallop' on each side of the mudguard at the position of the fork legs. I started with a flap disc on a 4" angle grinder. Then tried this 3" flap wheel in my pillar drill. It was hard going - unlike aluminium or steel but I eventually got close to where I could start mocking it up and testing the principle.
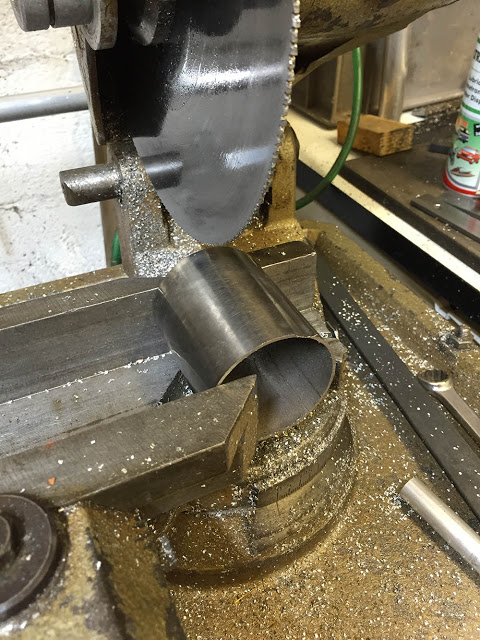
I cut a few inches of 2 1/2" O.D. stainless tube and sliced it in half, along it's length on the cut-off saw.
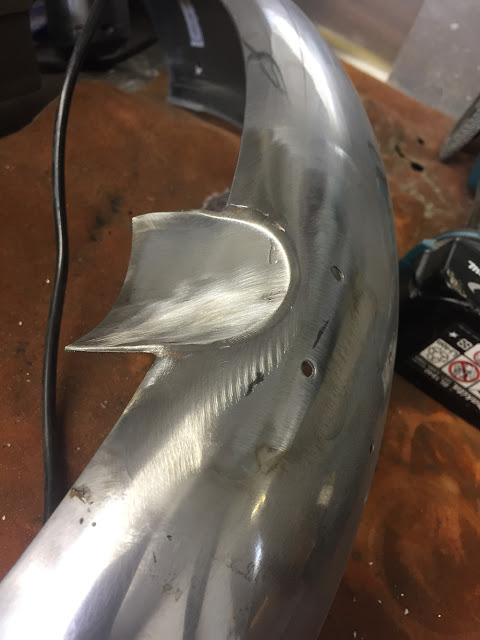
I needed a method of supporting such an awkward shape whilst I fettled the scallops to refine the fit of the tube sections. This method is crude and not very pretty but it works. Plan 'A' is to silver solder them in and polish the joints so they're almost invisible. This requires a very accurate fit of the three components with no significant gaps.

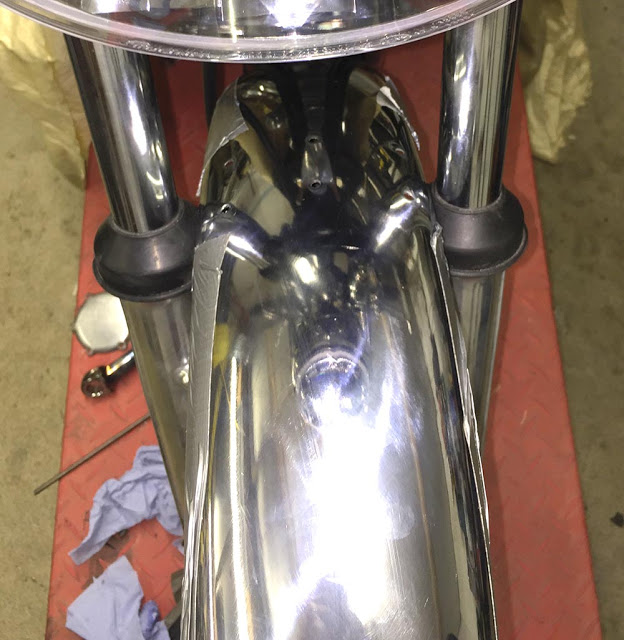
After quite a bit of faffing-about here's the result on one side. Of course, it's not finished, or blended or even polished yet but it's enough to dislike the whole idea. The mudguard itself has not been made very well. It's not symmetrical across the width and it just doesn't look right sitting around the tyre.
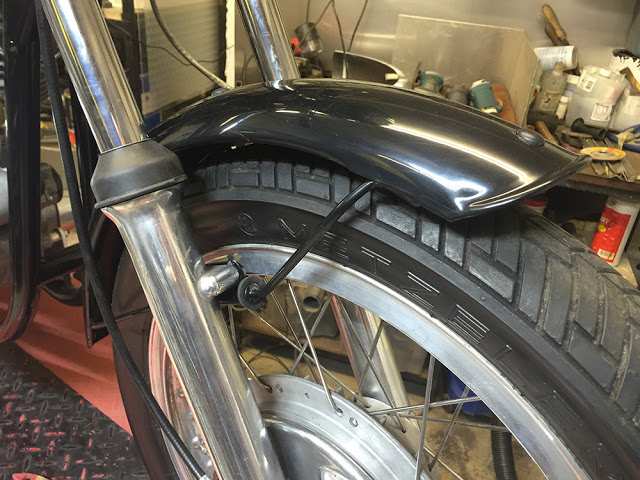
So, I abandoned it and fitted the original one that came with the frame. It's powder-coated steel and not very pretty but it'll do for now while I think of something else.
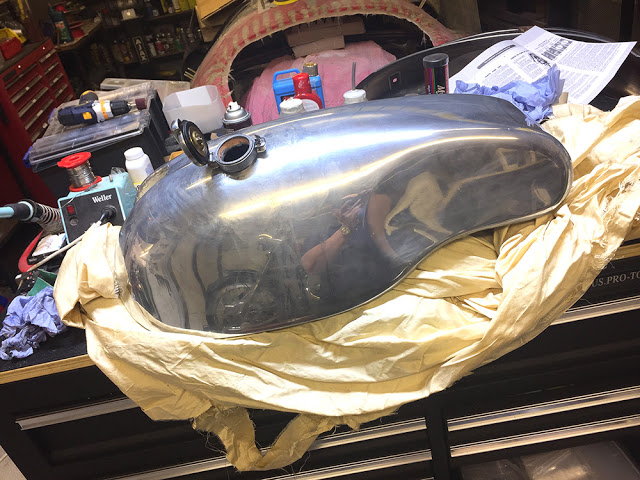
I cleaned out the fuel tap thread with a 1/4" BSP tap and fitted a blanking plug. Then I poured in a whole salad cream bottle of Gun-Wash thinners, closed the filler cap (with a piece of polythene over it first so the thinners didn't make it's way through the cap breather), gave it a five minute shake up and emptied it into a container. There must have been half an egg cup of loose debris in that first wash out. But, upon inspection the powdery surface deposits were still there - I could feel them just inside the filler cap and rub them off with my finger. The thinners alone was obviously not enough.
I had the idea of cutting a whole sheet of Scotchbrite into 3" squares - six of them. I pushed them into the tank along with the filtered thinners and repeated the shake-up. When immersed in thinners the pads are heavy and abrasive enough to lightly scour the inside of the tank.
I drained and filtered the thinners and washed out the Scotchbrite pads a further seven times. I used a new face mask in a funnel as a filter each time. This is the fourth one. Eventually I managed to get the inside acceptably clean.

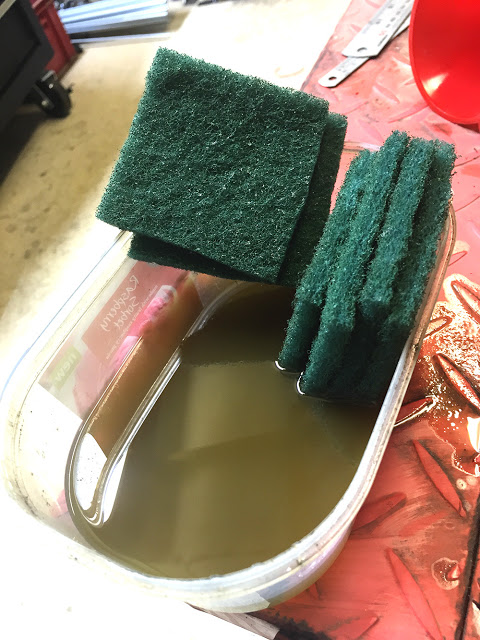
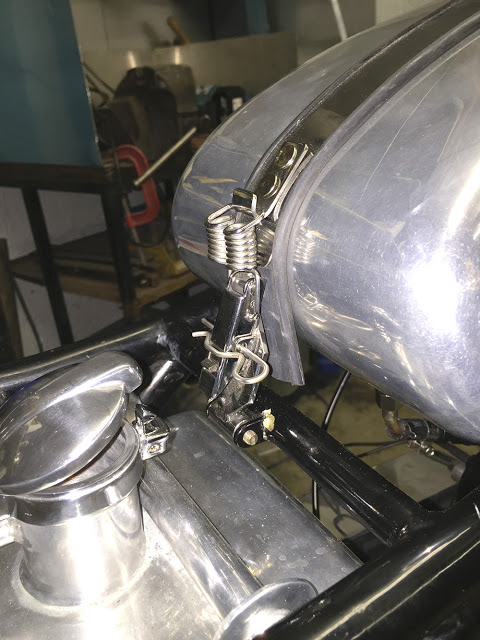
Here's the sprung-loaded over-centre fastener that tightens the tank strap. The latch has a little sprung locking clip but I've added a retaining 'R' clip for extra security.
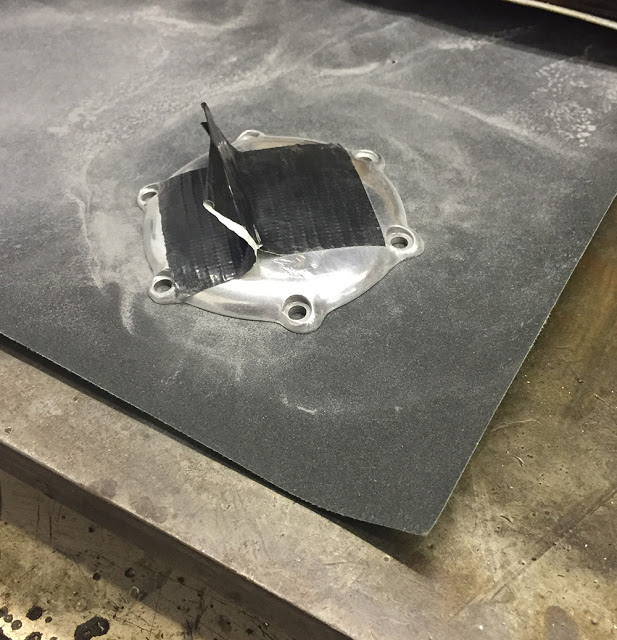
This is the magneto cover from the timing cover. It looked a little beat-up and the mating surface had a few burrs so I hand-linished it with a sheet of 400 grit wet and dry paper on our surface plate. The gaffer tape is just a handle to hold it with. Any flat surface will do, like a piece of plate glass. I was surprised how distorted it was.
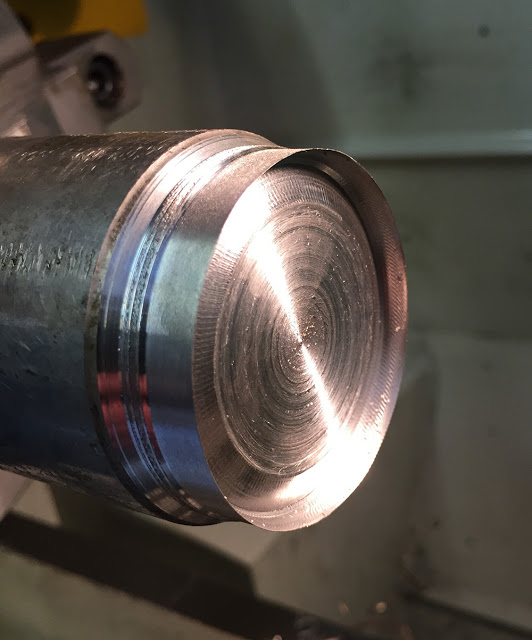
I had to make a couple of seals for the valve covers while I wait for the proper Vincent ones to arrive (never a quick and efficient process). I'm sometimes lucky enough to find a piece of tube the right size that i can pop in the lathe and turn a sharp edge on one end. CBS stock cork and paper gasket material in several thicknesses.
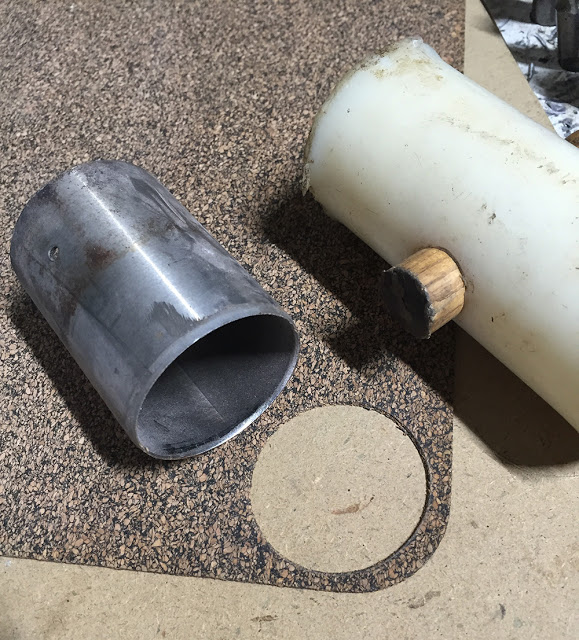
And if I don't have a close tube size, I'll just turn a sharp edge on a piece of bar. Neither of these methods will make a long-lasting tool but they'll cut one or two gaskets easily between sharpening.
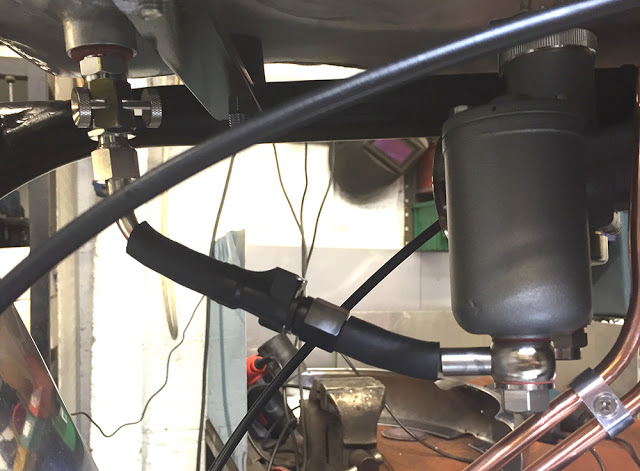
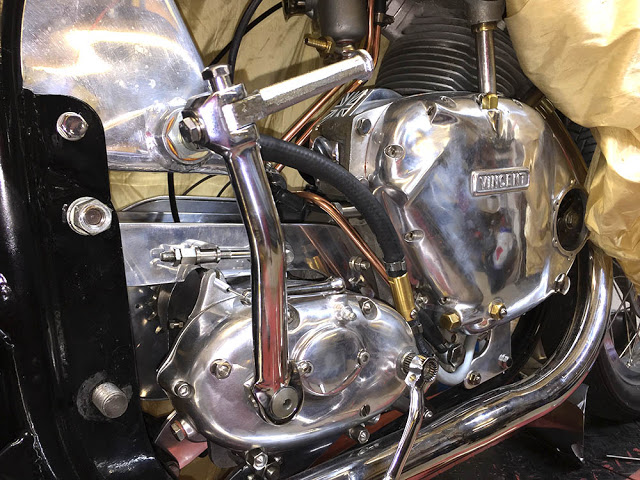
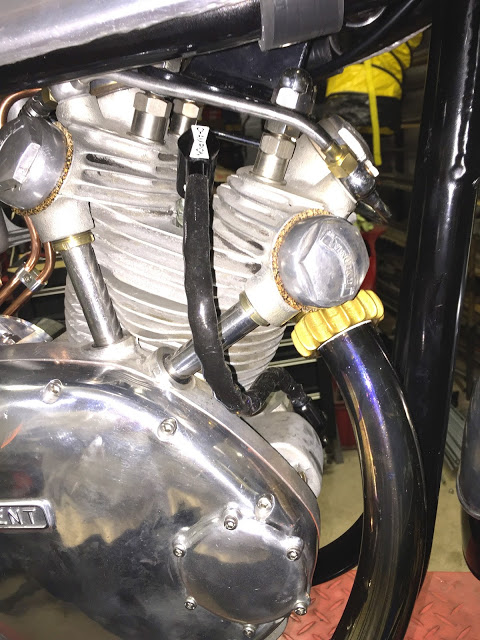
Here you can see my temporary cork valve cap gaskets and the HT lead which I protected with some CBS silicone sleeving.
It lives !! After injecting about a pint of engine oil in all the right places around the engine and kicking it over with the plug out for as long as I could it was a surprisingly undramatic and swearing-free first run. Priming the oil pump took a couple of attempts, unscrewing unions and pumping in more oil, but the first squirts from the oil tank return line appeared within a minute, followed by frantic tightening of loose bolts and unions. Yup - a satisfying evening's work for sure. Here's a video of it's first few breaths.

So, first impressions? Well, there are still no footrests or rear brake but it starts quite easily. Compression is very good but the kick-back bites hard if you don't get it right. It's quite light, easy to manoeuvre, despite it's poor turning circle and sounds gorgeous. Everything seems to work as it should - front brake, clutch, gearbox and primary drive all seem fine and the engine seems smooth with no unexpected rattles. From a short first drive it obviously has very long legs - one rev every telegraph pole stuff, but it pulls away easily and smoothly.
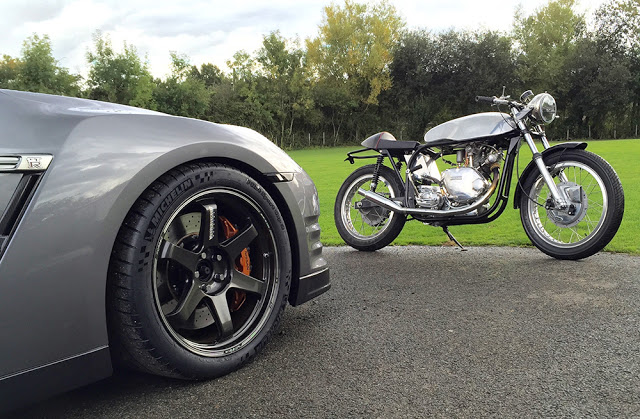
There's still a long way to go and a few niggly problems to iron-out. It's been a long, long time since I've kicked-over a big single and these old legs are paying the price but I'm having fun. I'll finish this post with a piccy next to my Son's GTR.
The old and the new.
Ciao.