


I've finally found a few spare hours to continue with the body mods and write a little about it.
In a previous thrilling episode I cut and reshaped the roof and upper mid bulkhead panels to a more pleasing shape and profile. Time now to glue all the pieces back together. My trusty Powerfile was the weapon of choice for this job - 'V-ing' out every join, between the aluminium plates to at least half the depth of the panel. I then fibreglassed enough of the 'V's to hold it together and then removed the aluminium plates and glassed -up the remaining grooves.

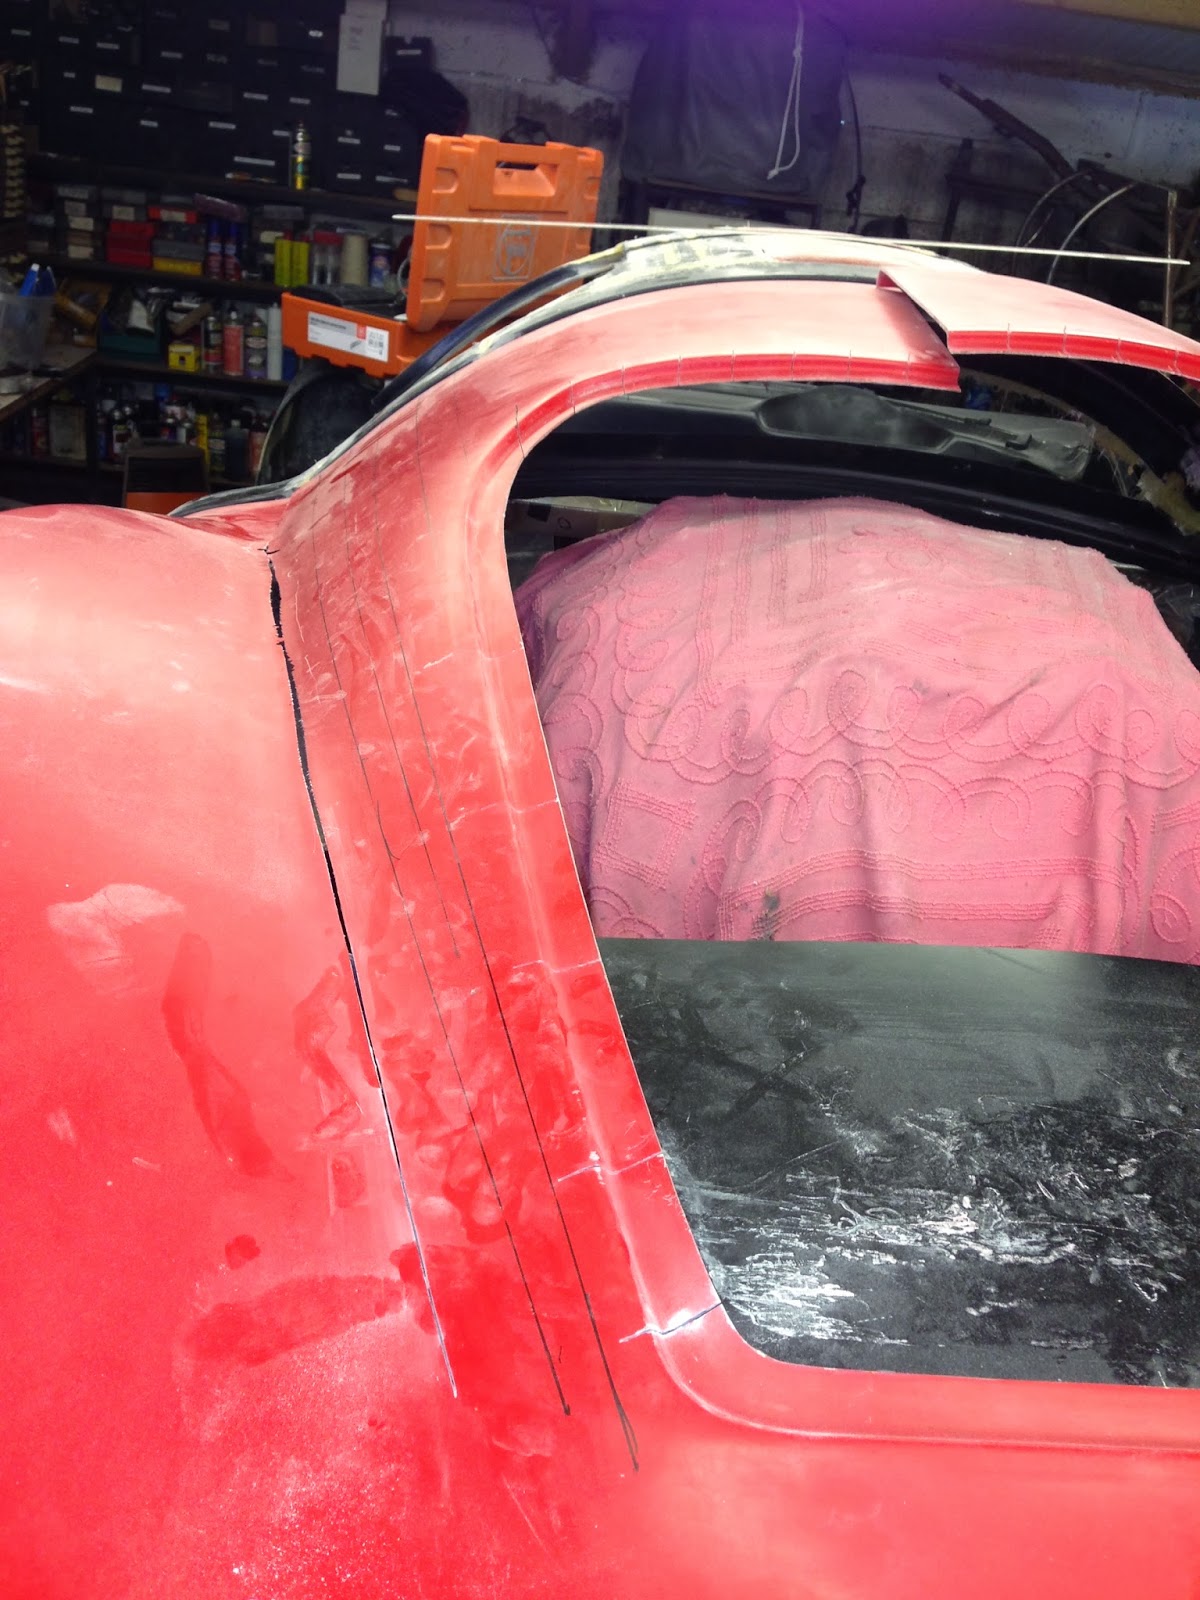
I found an old roof lining panel in our store room that was designed to finish off the underside of the roof. It's shape was close enough to trim and bond-in - filling the gap admirably. In the piccy below, you can see the three re-bonded cut lines of the near side of the roof, the new, red, centre part of the roof and the beginnings of the new front door window radius in the bottom centre of the pic.
And so, onto the big one. Re-shaping the tail section. Back in the day, I can recall lowering the roof on a couple of customer's cars. The results were certainly an improvement on the original hump-back shape but the budget wasn't enough to go the whole-hod and do the job properly. This time it's different. To achieve a smooth shape transition from the back of the tail to the mid bulkhead means many loooong cuts and many subtle tweeks. The first job was to remove the engine deck and any internal bulkheads that were in the way of the planned cuts. It was important to 'dress-down' all the high points on the underside of the tail to achieve an even thickness of GRP in all areas to be modified otherwise the panels would not bend and re-shape evenly.
I measured and marked the first few cut-lines using only instinct and judgement - this is not a scientific process - it's very much a suck-it-and-see procedure. It is important however, to duplicate the cuts and marks symmetrically on each side.
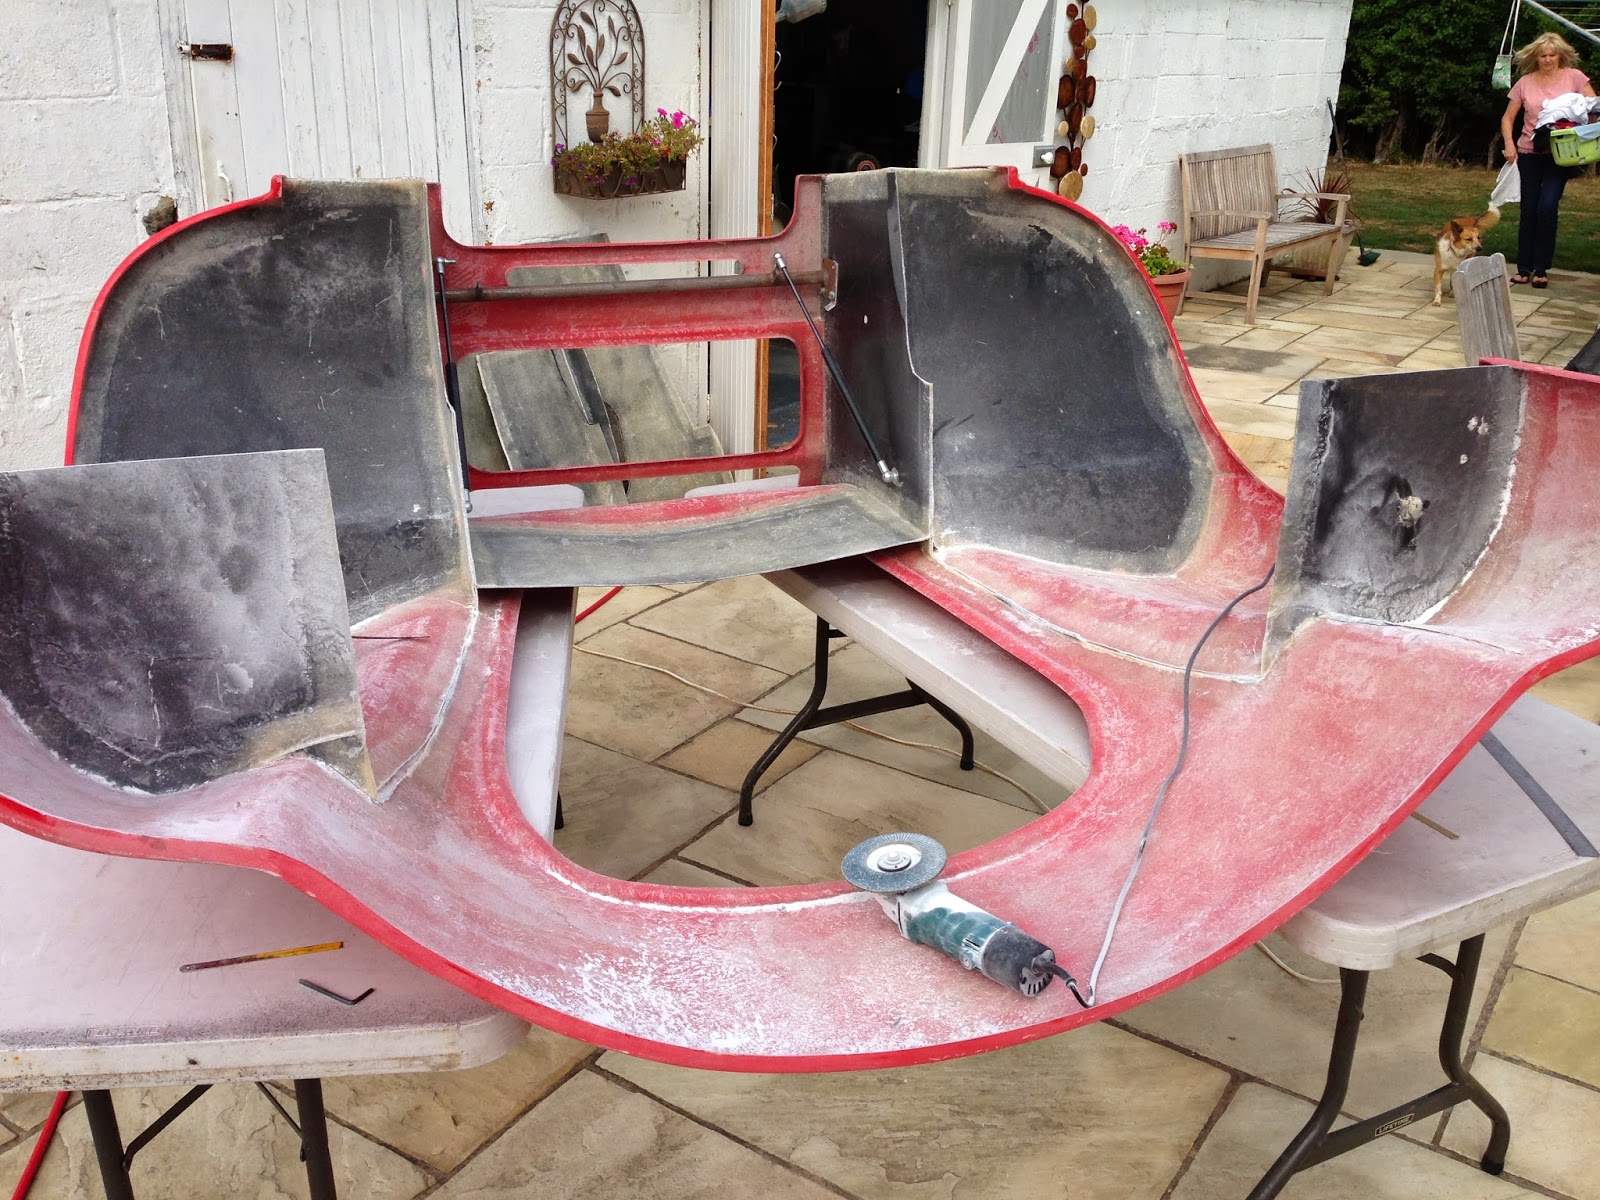
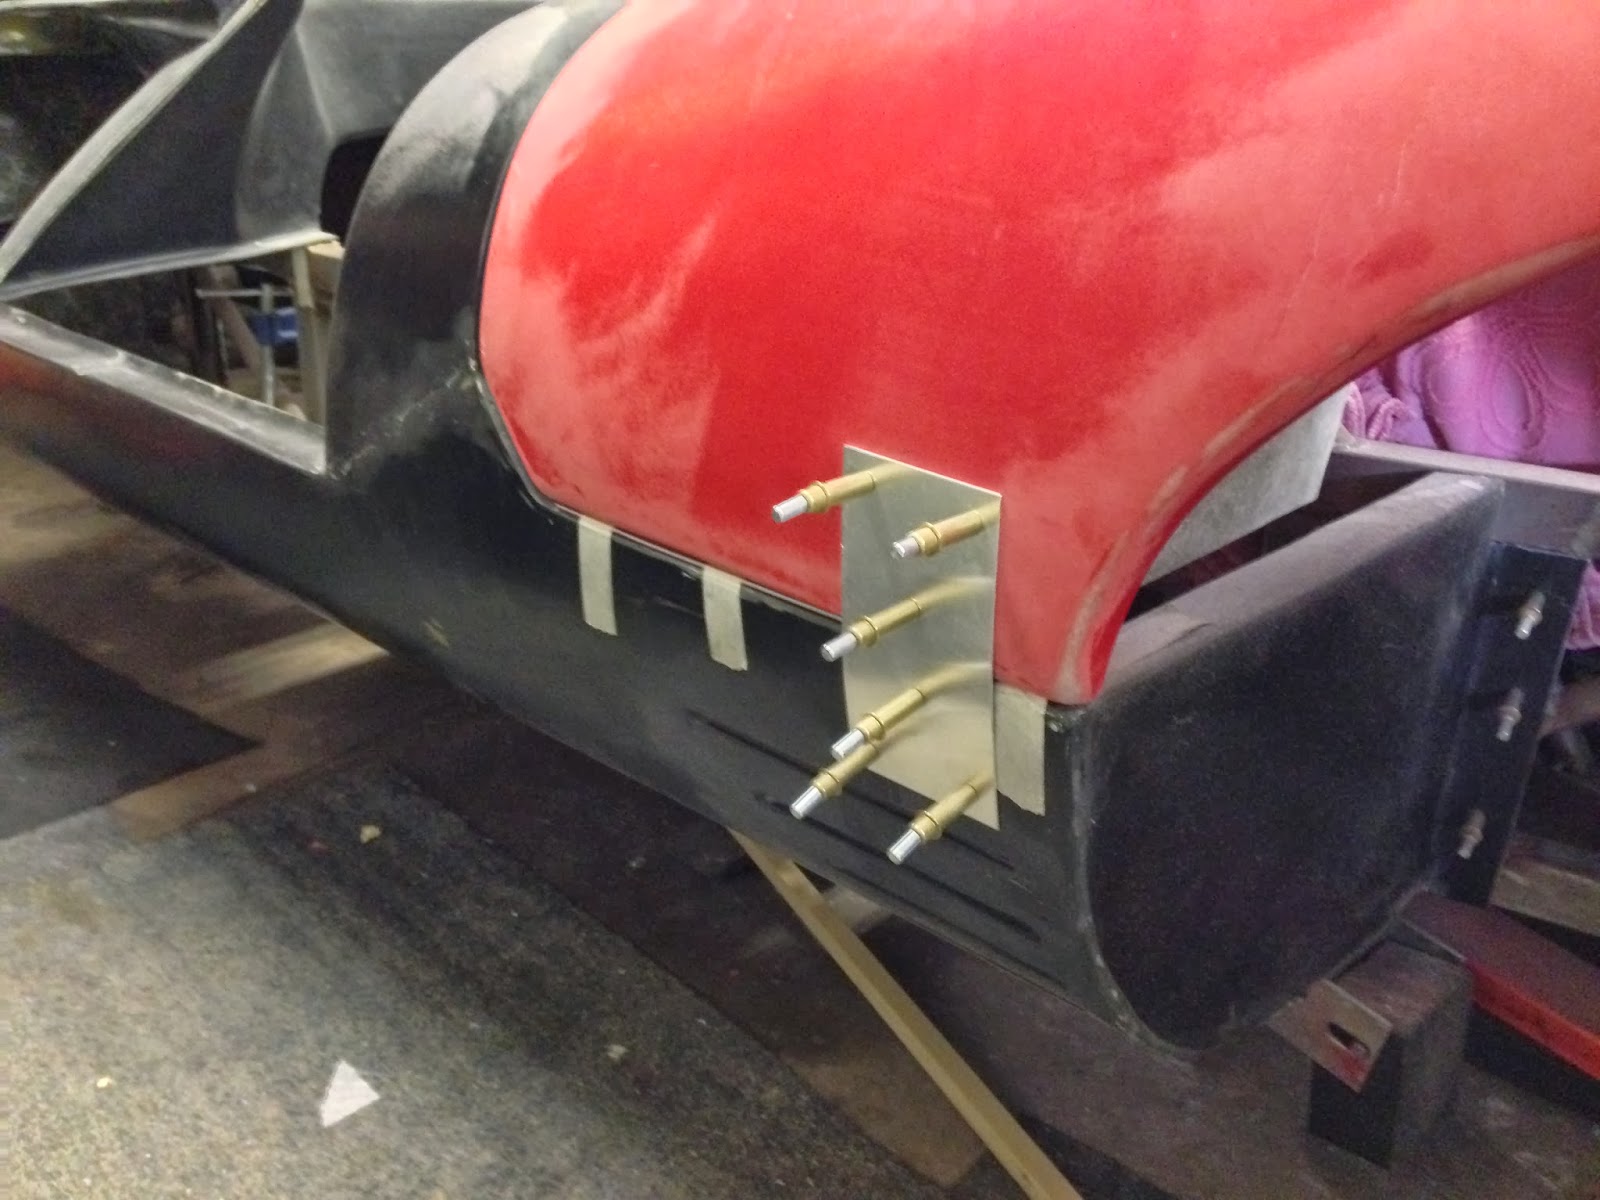
Lightweight glassbibre panels often rely on angles and returns on the edges to keep them rigid and strong. Making a few simple cuts along the returns renders them amazingly floppy and flexible. The picture below shows just the first few cuts and already you can see a significant change in the curvature of the panel.
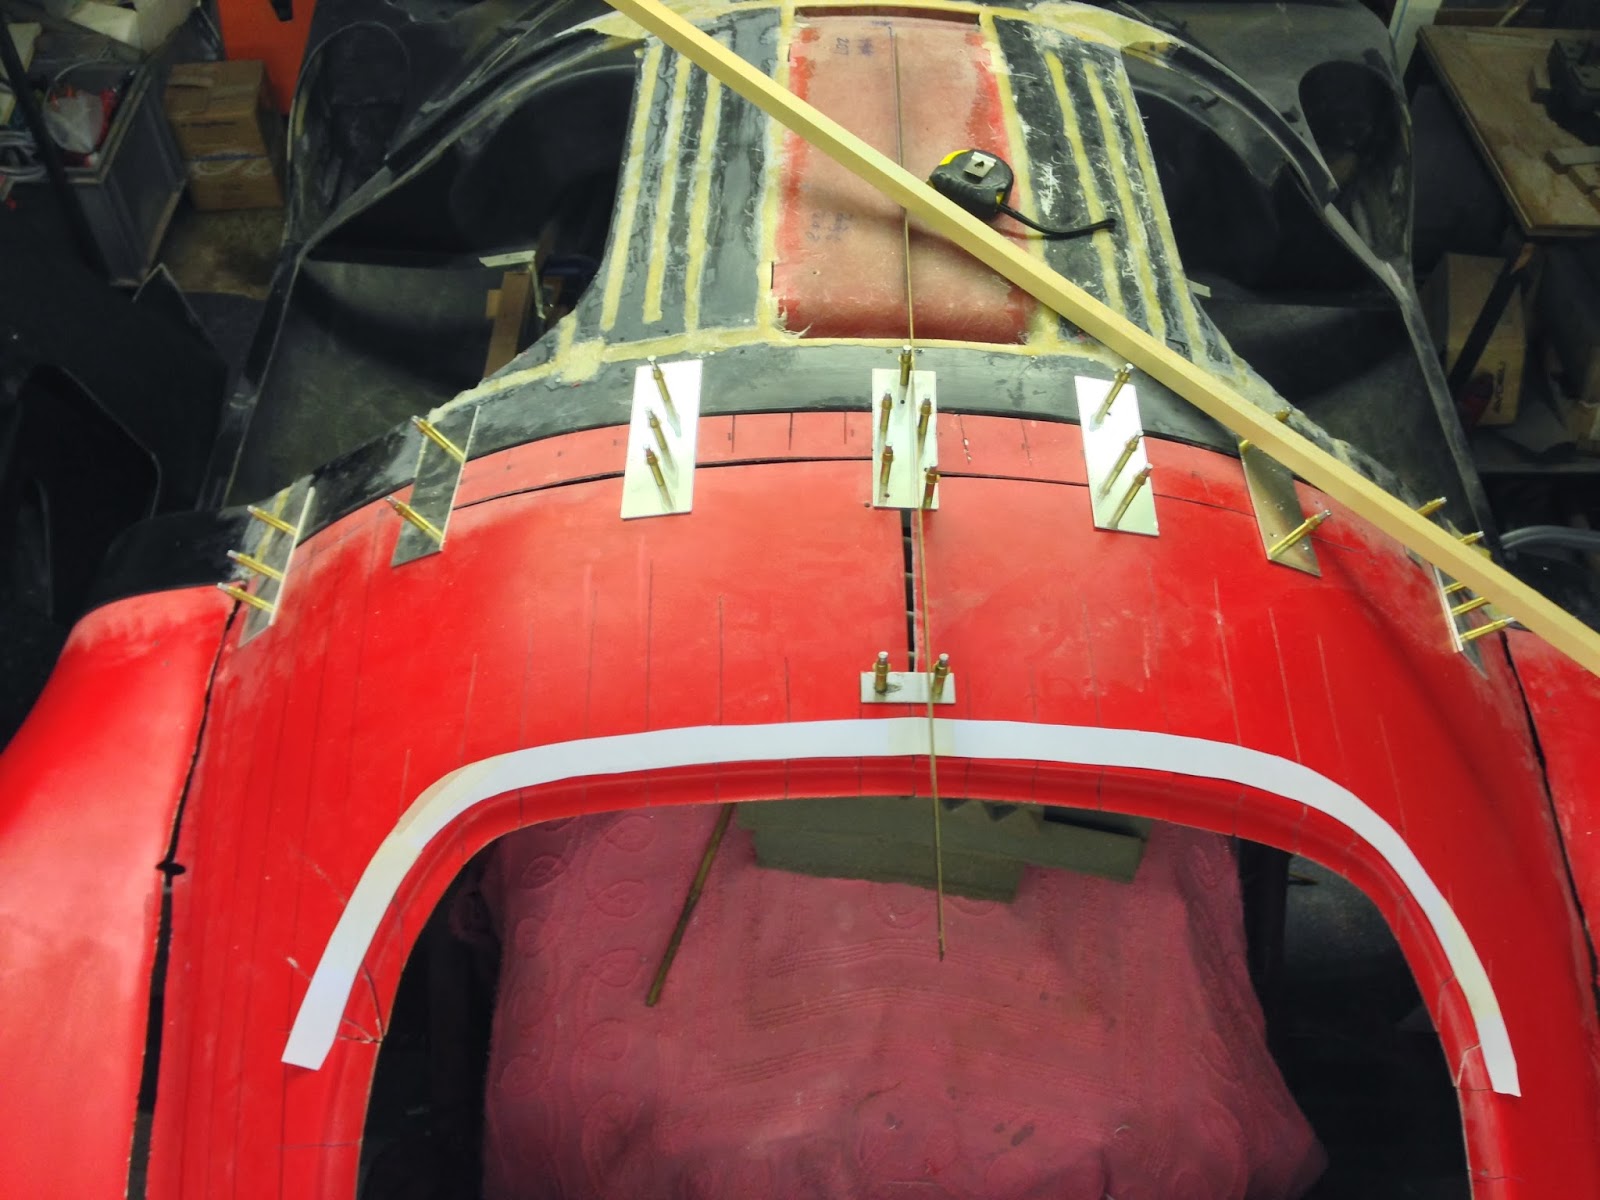
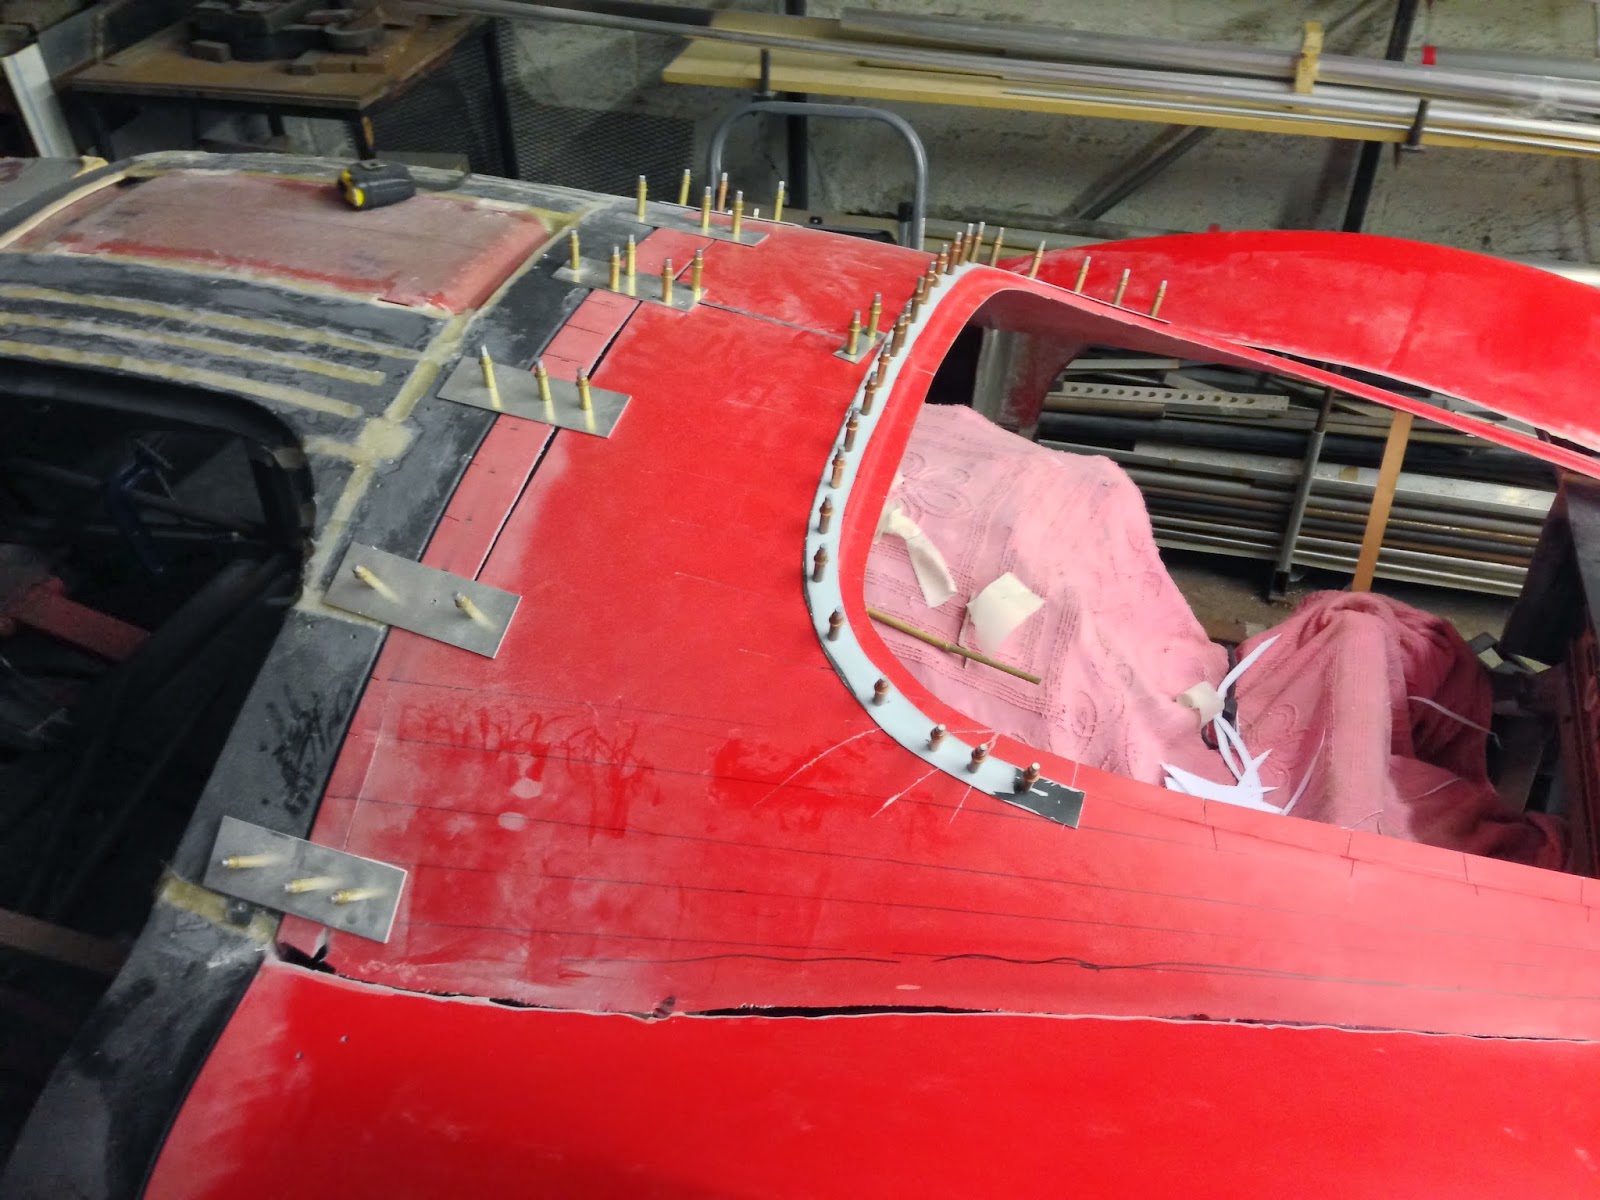
The following few pictures represent a few day's work - much of it spent just walking around the car, looking, measuring. making paper templates, more looking from every angle, trimming, repositioning. It's important that none of the repositioned panels are stressed to get them to their new positions. There's no point in glassing-up the new panel with built-in stresses. It'll crack and move for sure. If all the pieces of a panel won't fall easily to the new position you want it in then make another cut until they do.
There are dozens of Clekos holding it all together. Don't be afraid to reposition the plates and drill new holes - they are easily fixed.
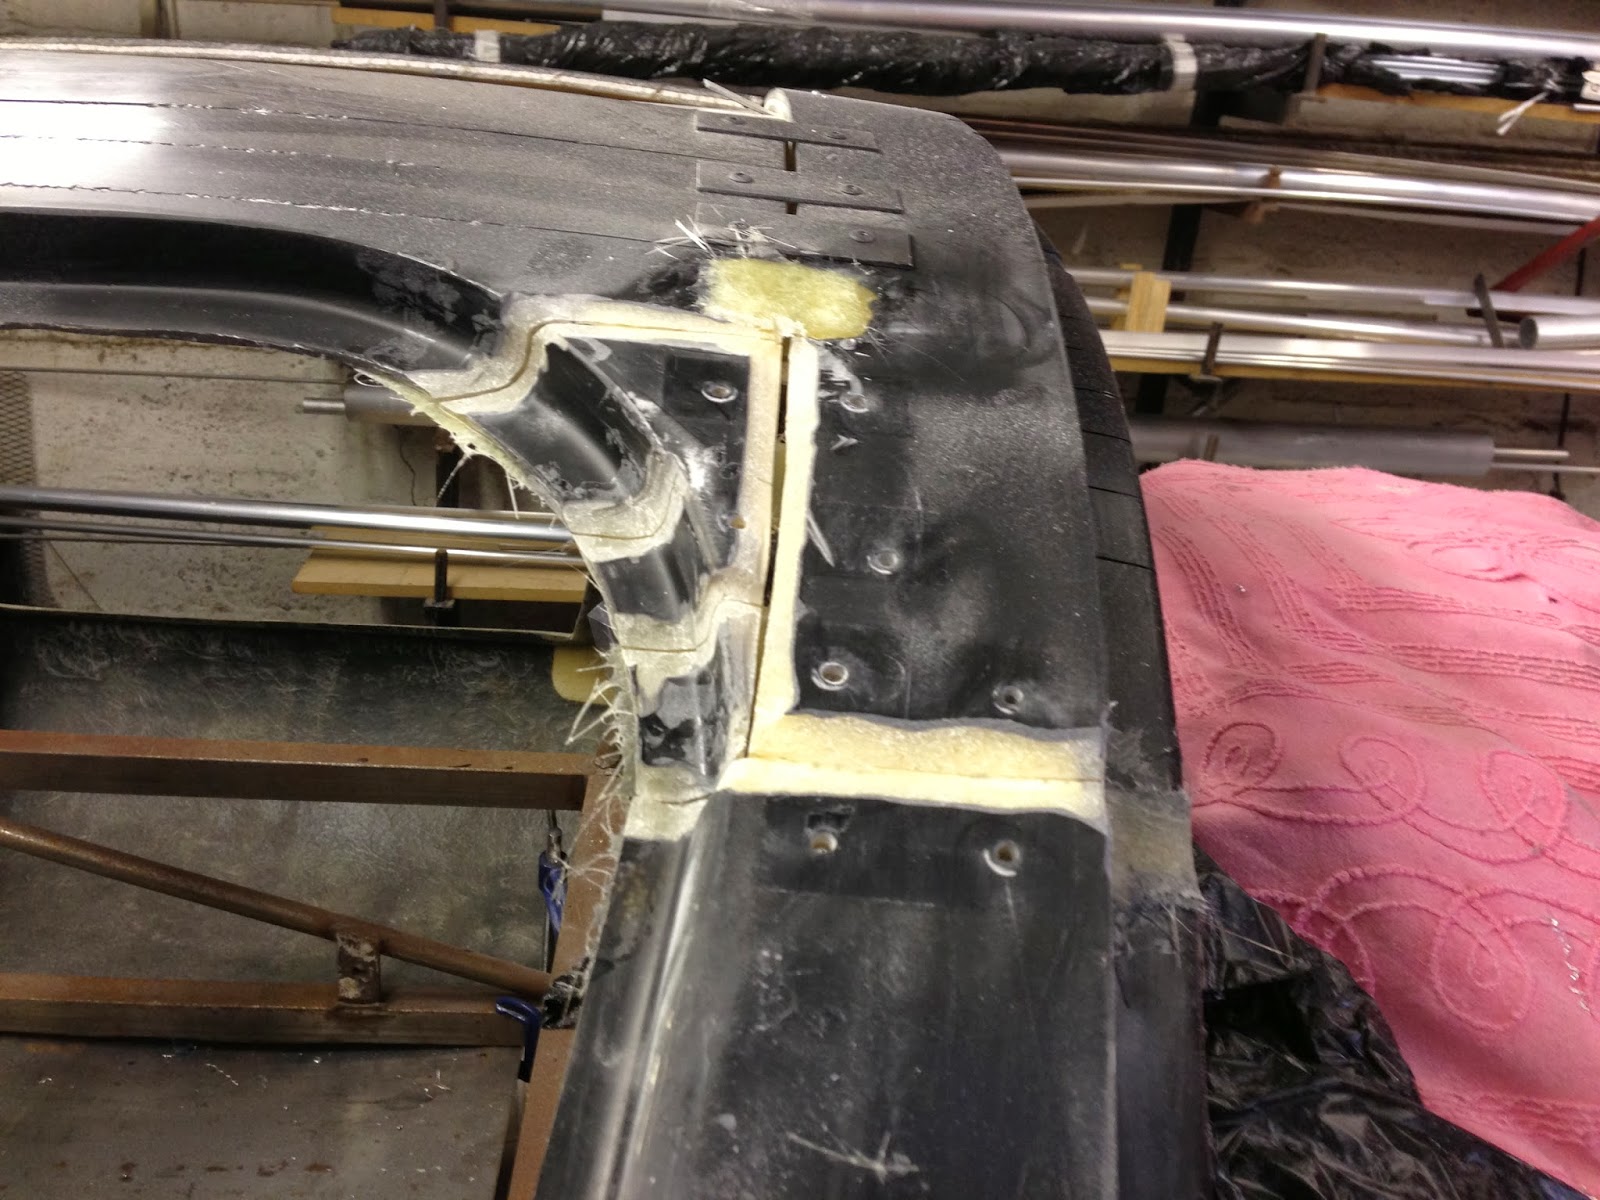
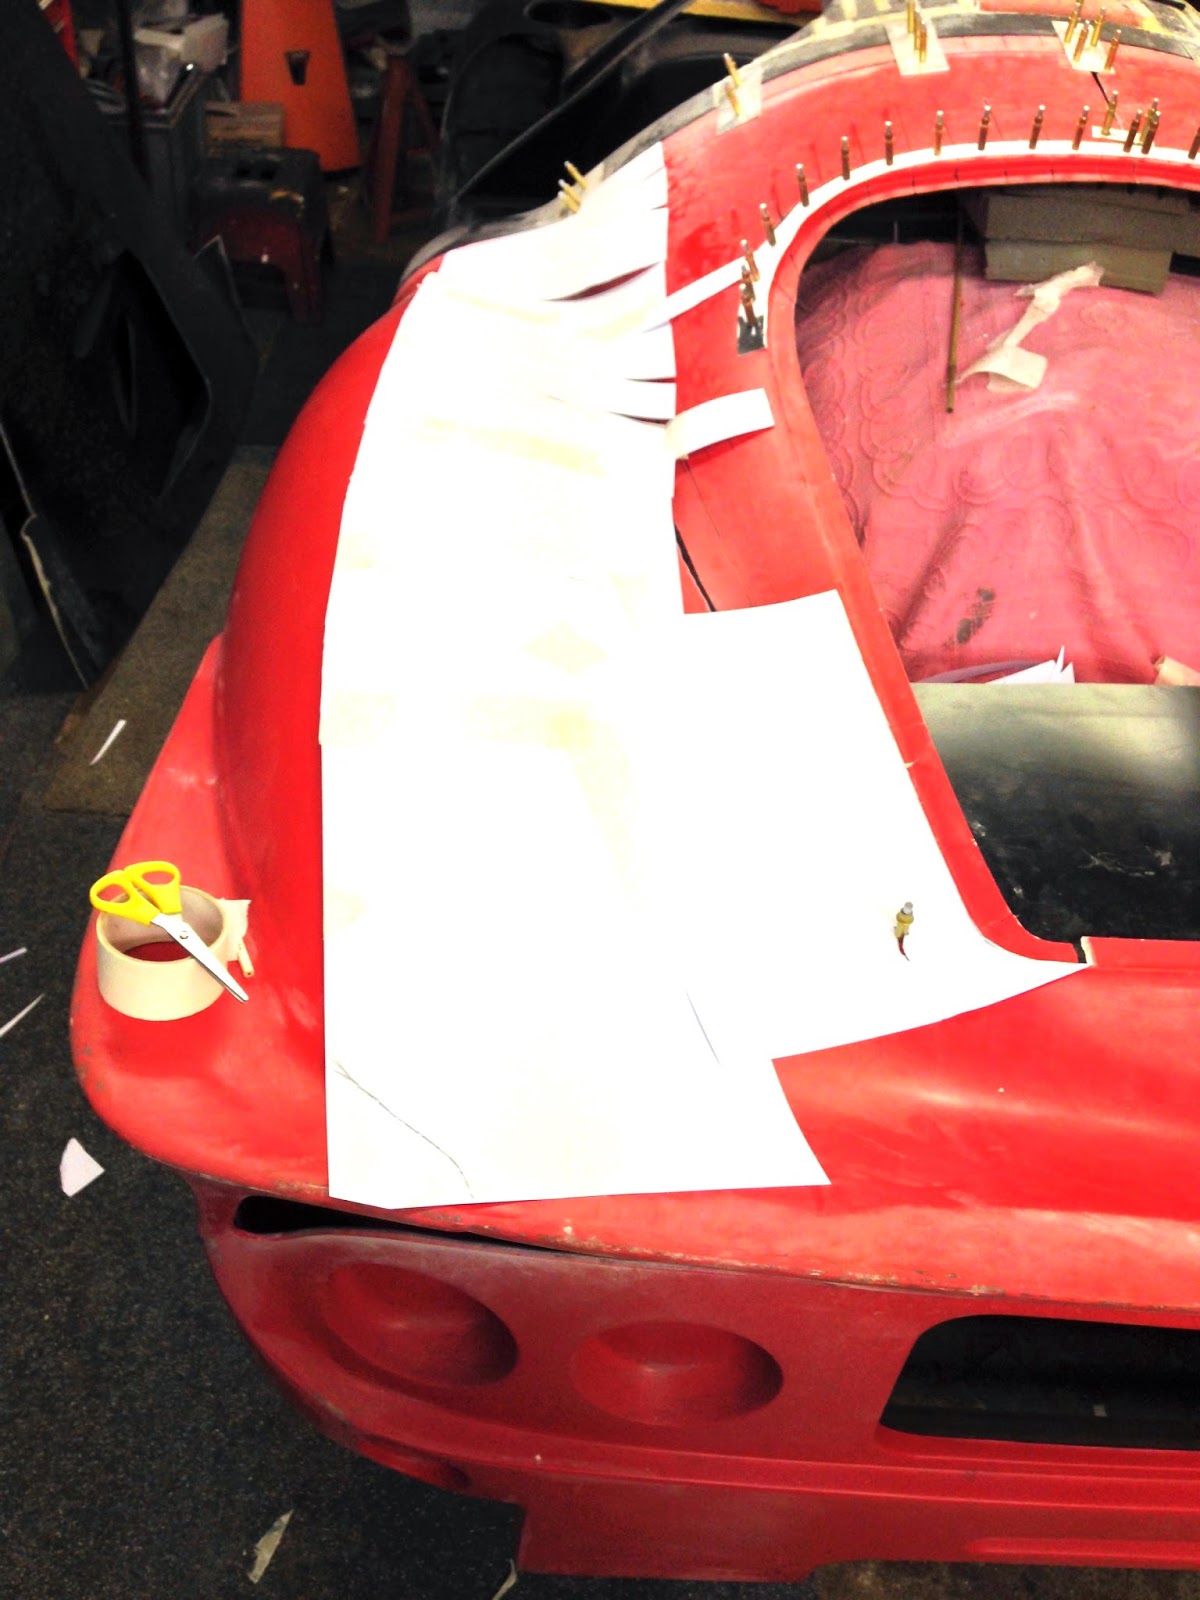
In the picture below you can see a white cardboard template shaped around the top of the rear window reveal. I transferred this pattern to a sheet of 1mm aluminium and used it to support all the cut 'fingers' of the upper tail panel in their new positions while they are being re-glassed together.

It's worth a quick reminder that the sides and rear of the tail section are securely fixed in position on the main tub to keep a stable datum whilst all this cutting is going on.
Simple paper templates that can be flipped over from side to side help to keep it all symetrical. That said, the length of one sill on the Foreman main tub moulding is 25mm more than the other - simply beacause the original Ferrair P4 from which the templates were taken was just that - 25mm longer on one side than the other. These were hand-built, aluminium bodies made in 1967 for just one race season. Absolute accuracy wasn't necessary. The old adage, 'If it looks right, it probably is right'. certainly applies here.
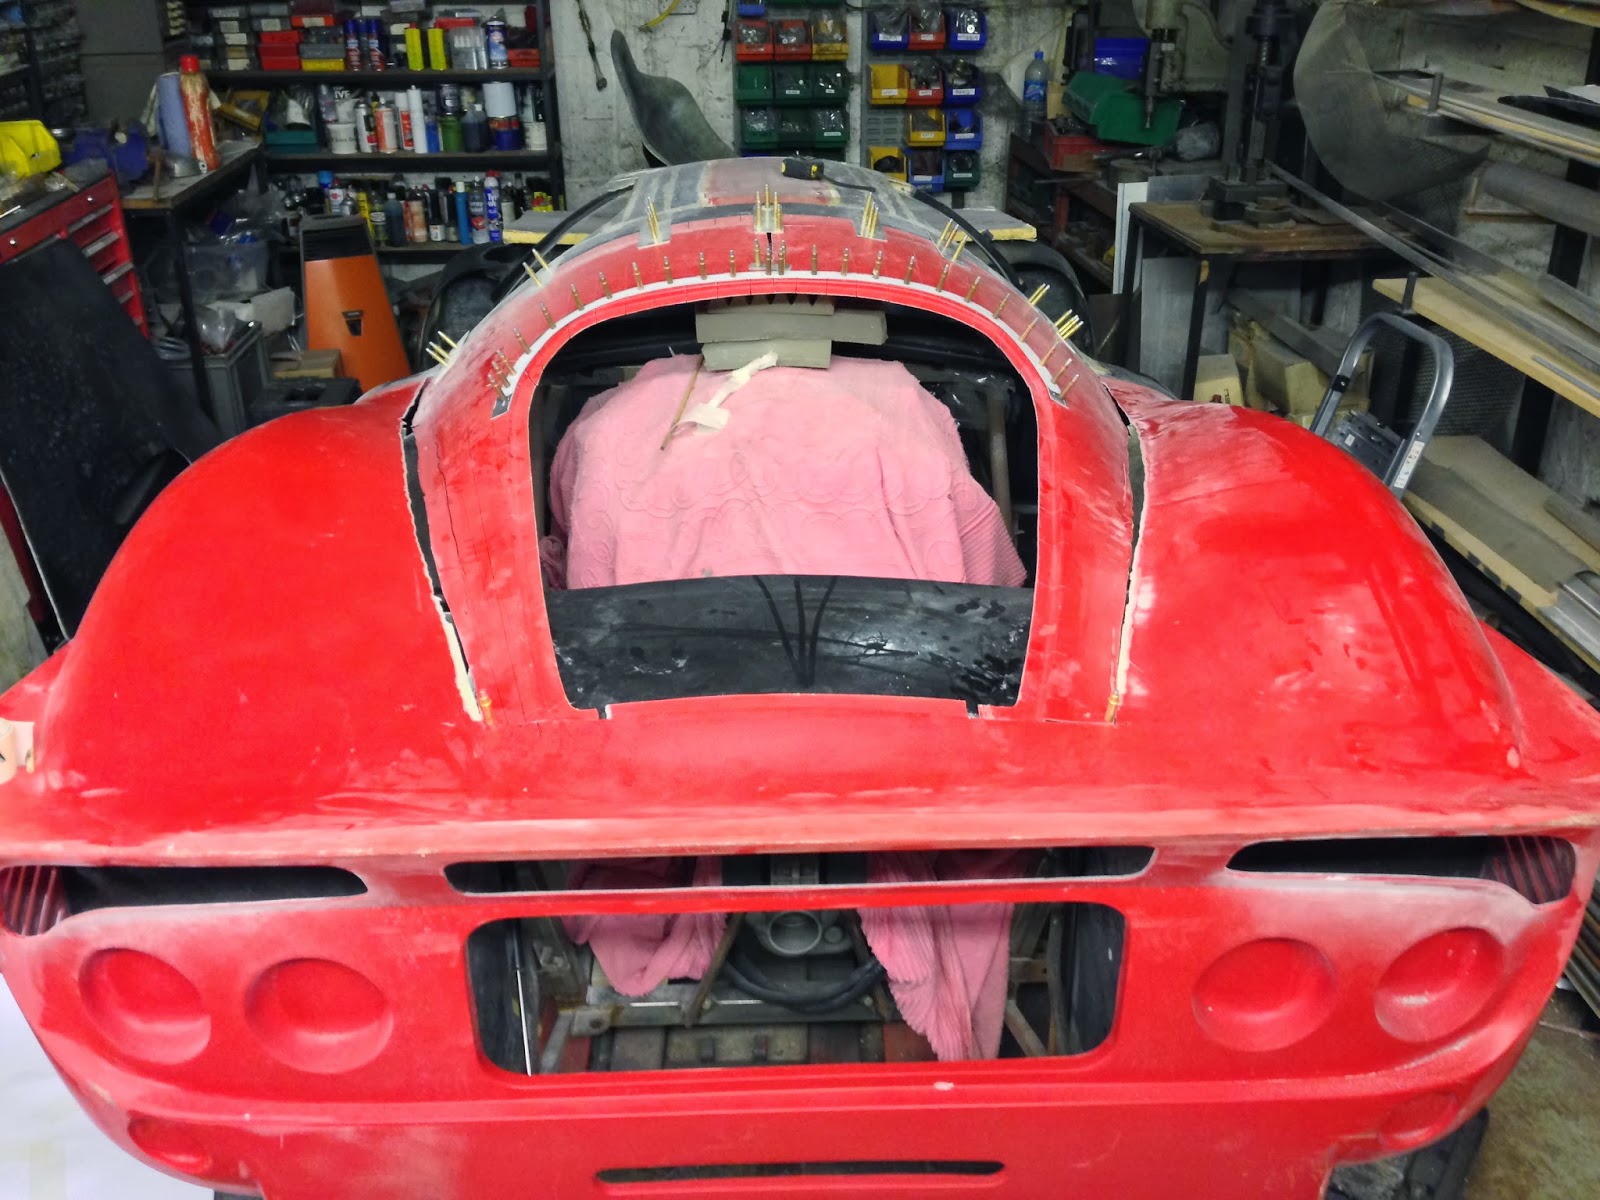
Here it is - all cut, reshaped, plated and Cleko'd - ready for a few square metres of glassfibre and a few litres or resin. 40mm height reduction may not seem much but if you compare the roof and rear window profile with an earlier picture you'll see the subtle difference in shape. Fortunately, the rear window is 3mm thick moulded Acrylic and was always supplied oversize for the builder to trim. It can be easily trimmed to the shape of the new reveal and will form to the new curvature - no problemo.
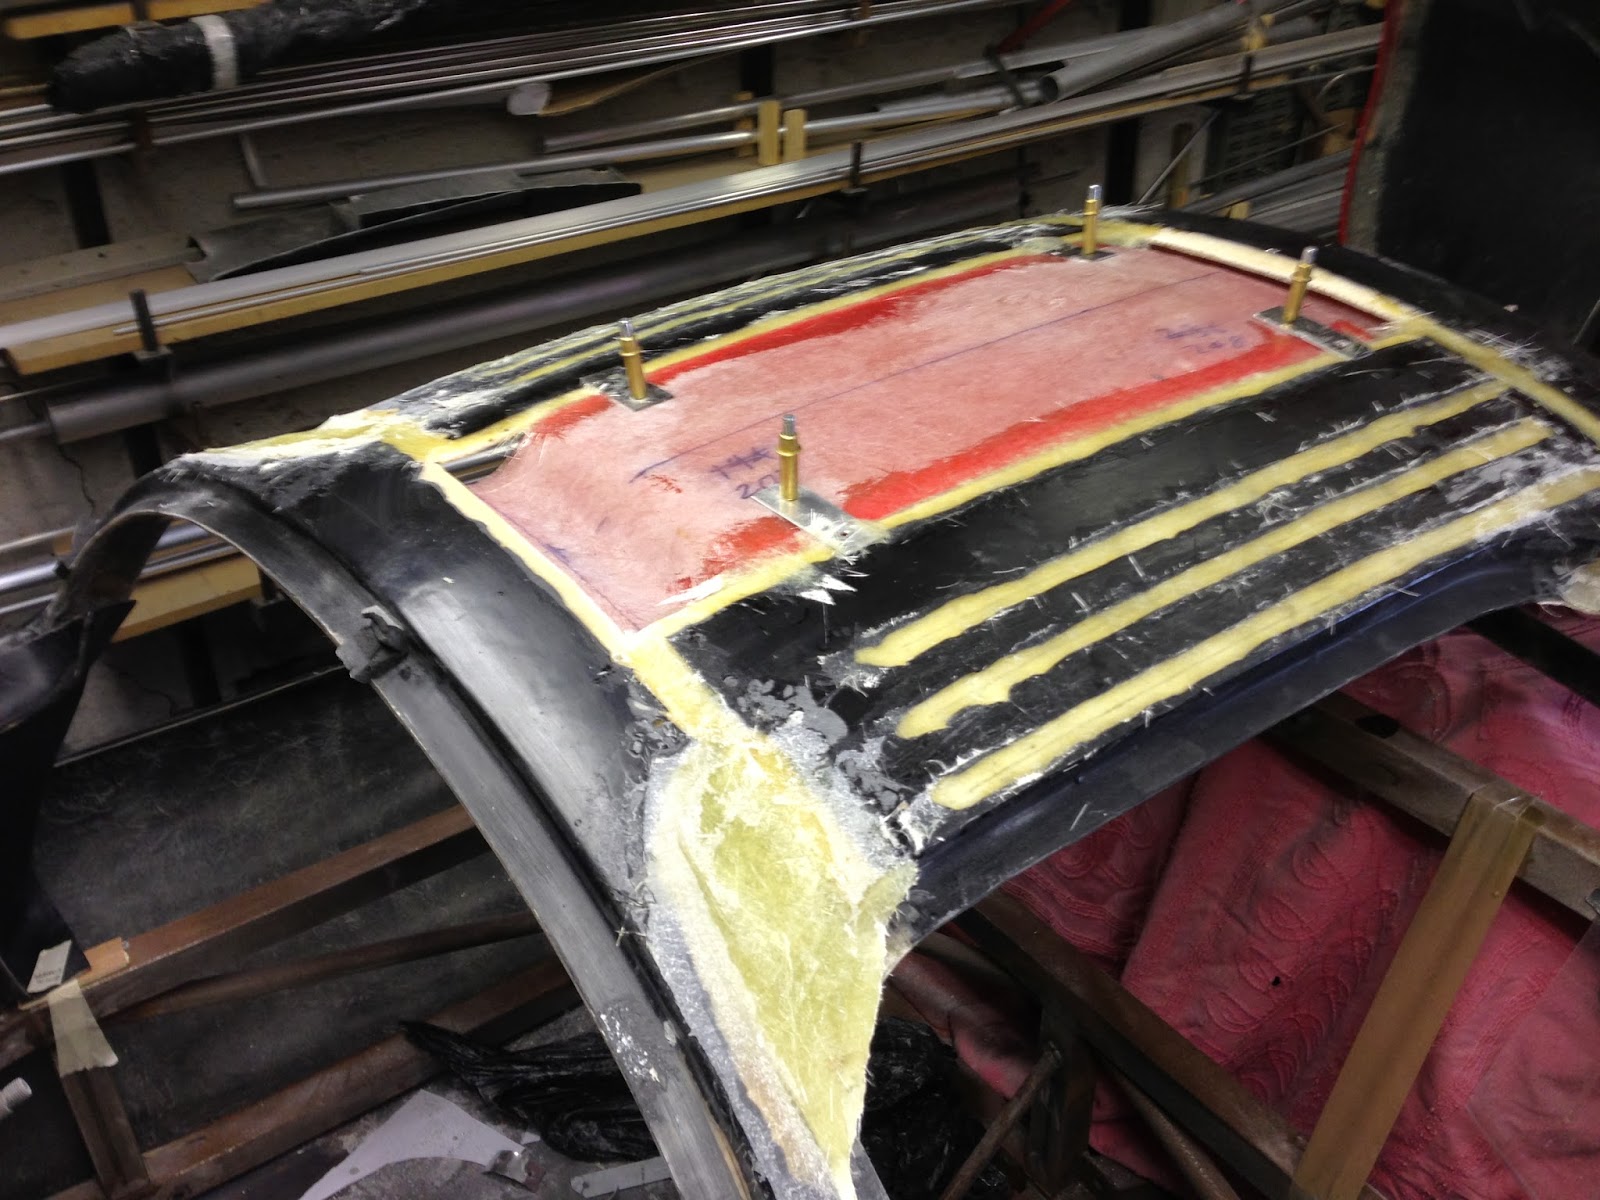
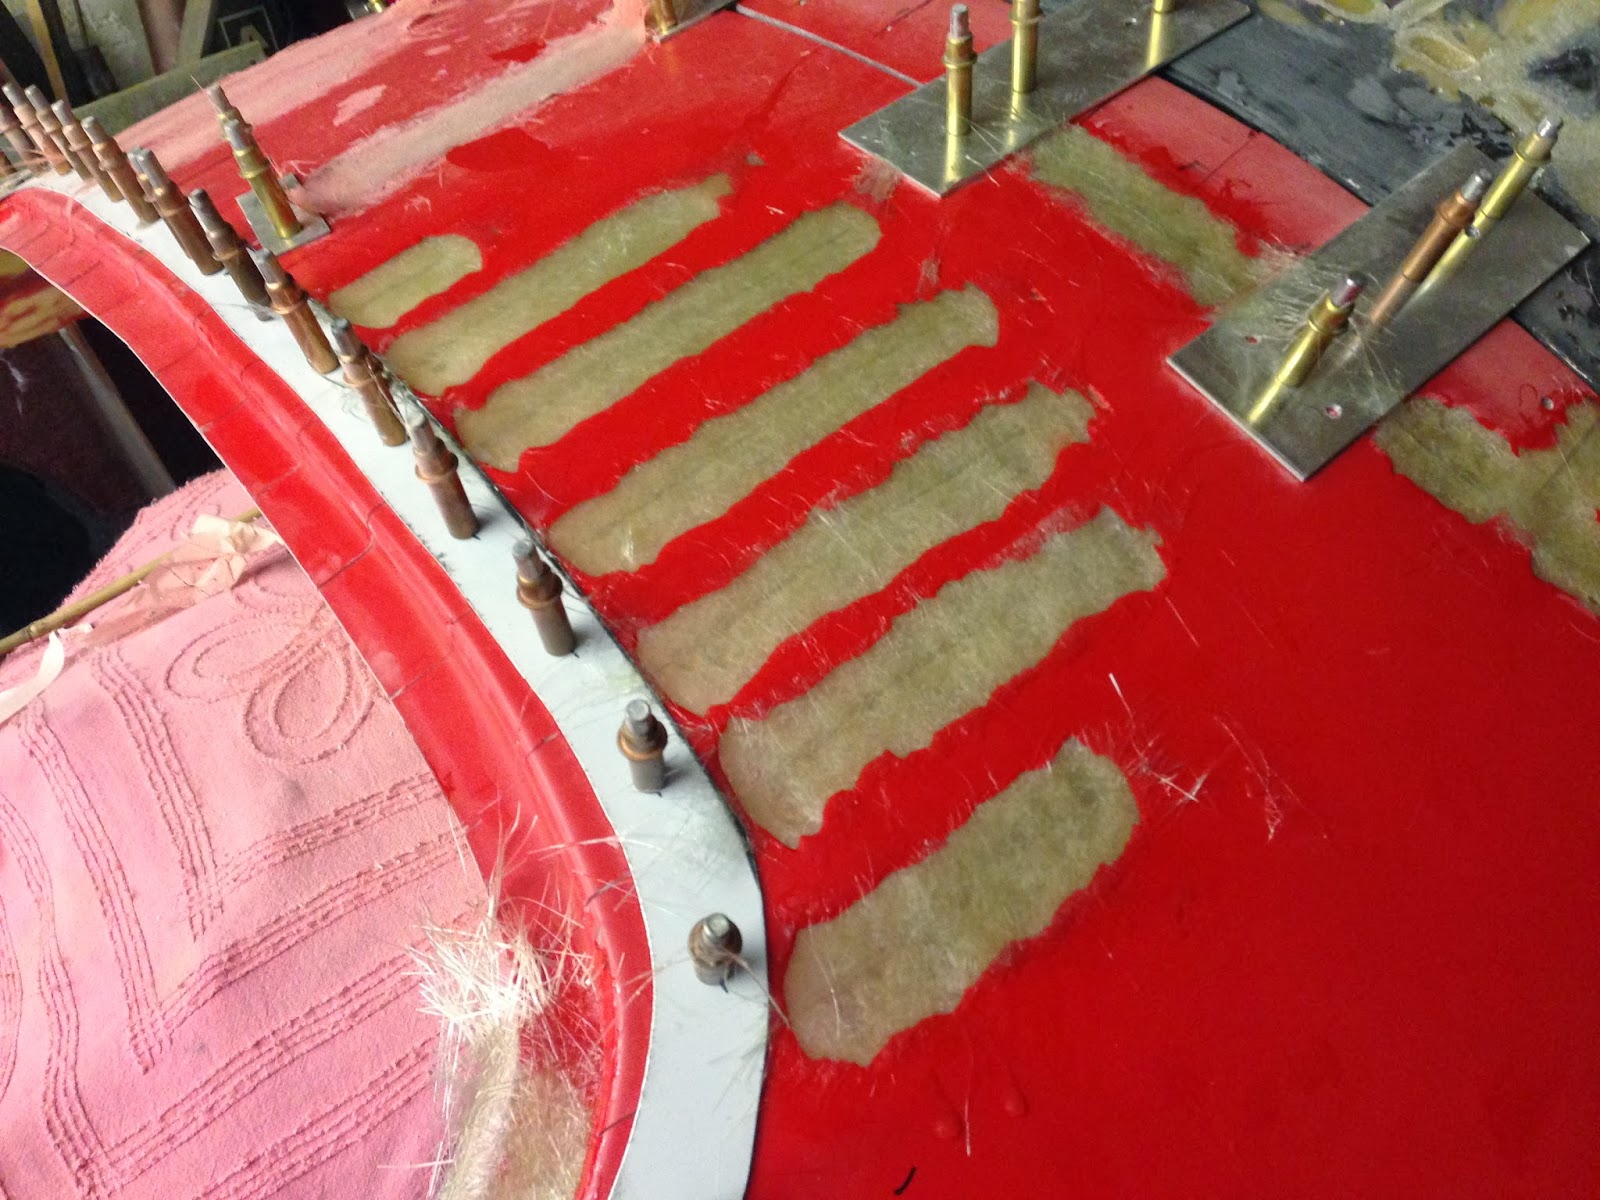
This time, I used a 100mm diameter flap disc on an angle grinder to 'scallop' the top surface of all the cuts - almost through to the underside.

Strips of glassfibre and resin were then layered into the scallops back up to surface level.
It's a bit like open heart surgery innit? The surgical scars and dormant heart beneath the blanket.

More later.